Ecommerce sites are among the most popular and visited platforms on the Internet. There are many technologies available to create ecommerce platforms, and knowing how to build one is a critical skill to have in the IT world. While starting a new ecommerce project from scratch is good for learning purposes, isn't there a ready-made, more reliable solution for developers and their businesses? This is where the ApostropheCMS Ecommerce Starter Kit comes into play!
In this article, you will find out why building an ecommerce site from the ground up may not be the best approach. You will then explore an alternative and more effective method of kicking off an ecommerce site project thanks to the ApostropheCMS Ecommerce Starter Kit.
Why You Should Not Build an Ecommerce Platform From Scratch
Suppose you want to create an ecommerce site with popular technologies like Next.js, Vue.js, Laravel, or Angular. To have more control over the project, you may prefer to start from the ground up. Well, there are three major challenges if you want to go that route:
- Development time and costs: Creating a robust ecommerce solution requires product, tag, and category management, content filtering, offers handling, and more. To implement those features, be prepared to invest dozens, if not hundreds, of hours in coding. That implies a significant financial investment in the project, without a guarantee of success.
- Maintainability concerns: Completing the project and deploying it online is just the beginning. Maintaining a custom solution can be complex, requiring meticulous attention to updates, security patches, and industry standards.
- Content management complexity: Most JavaScript framework allows you to present data nicely and crafting interactive pages, but what tools will you use for content management? Developing a user-friendly content management system (CMS) is a daunting challenge in itself. You could opt for a headless CMS, but integrating and configuring it properly takes time.
These non-negligible issues lead raise some doubts. Does it make sense to develop an ecommerce site from scratch? Isn’t out there a better solution? Of course, there is!
ApostropheCMS Ecommerce Starter Kit: The Solution You Were Looking For!
The ApostropheCMS Ecommerce Starter Kit serves as an open-source template for initializing a new JavaScript ecommerce project. In detail, the starter kit generates an ApostropheCMS project that provides all the features developers and content managers need to build an ecommerce platform.
If you are not familiar with that technology, ApostropheCMS is an open-source website builder and CMS developed with modern technologies such as Vue.js and Node.js. It enables editors to effortlessly create and manage content through an intuitive UI, while developers have the ability to customize the admin UI by overriding existing Vue.js components and extending it with new menus and field types. At the same time, you keep the ability to use your technologies of choice on the front end. Learn more in the documentation.
Thanks to the ApostropheCMS core, the ecommerce starter kit speeds up the creation of a fully functional ecommerce JavaScript project with advanced content management capabilities, a focus on user experience, and a clear path for further development. Thus, it gives content managers the ability to define tags, products, and categories and use them to design engaging ecommerce pages through a useful set of built-in widgets.
In other words, the Ecommerce Starter Kit for ApostropheCMS equips editors, marketers, and developers with everything they need to create an efficient, effective, eye-catching ecommerce platform that delivers a high-quality user experience to customers.
This starter Kit has been created by Corllete in partnership with Apostrophe. From a technical point of view, the ecommerce project is based on several UI components. Each of them relies entirely on Tailwind CSS for styling, with no additional CSS files. These components are organized in macros and fragments coming from the default server-side template engine Nunjucks.
The advantages of this approach to creating an ecommerce store are:
- Quick development.
- Built-in content management functionality.
- Excellent UX and highly customizable UI.
Now, learn how to use it in the guided section below!
Create an Ecommerce Site With ApostropheCMS
Follow this step-by-step tutorial to learn how to use the Apostrophe CMS Ecommerce Starter Kit to create a full-featured ecommerce site in minutes.
You can find the complete documentation on how to get the most out of this starter kit below:
Let’s dive in!
Set Up an Ecommerce Starter Project
Keep in mind that the Ecommerce Starter Kit for ApostropheCMS is not designed to be installed into an existing project. So, you will have to create a new project from scratch. Before getting started, make sure to meet the requirements for Apostrophe 3+.
Next, launch the command below to initialize an ApostropheCMS project using the ecommerce starter:
apos create my-apostrophe-ecommerce-site --starter=ecommerceHere, my-apostrophe-ecommerce-site is the name of the project, while ecommerce is the starter used to create the new boilerplate project. Follow the procedure to add an admin user. For finishing touches or more information, take a look at the official setup guide.
Run the local development server with:
npm run devVisit the login page at http://localhost:3000/login and use the credentials you set up earlier to log in as an admin. This is what you should be seeing:
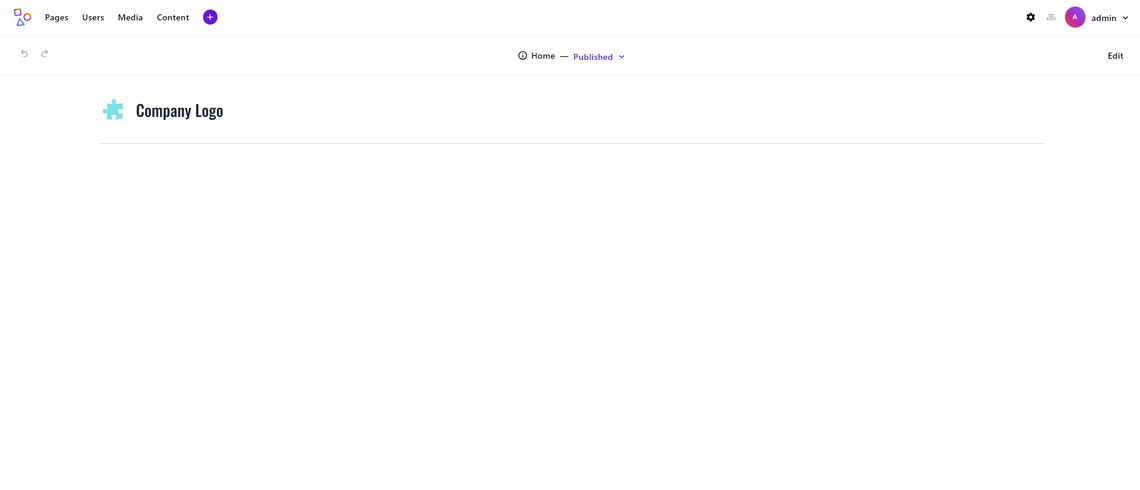
Awesome! You now have everything you need to start working on your ApostropheCMS ecommerce platform.
Add Some Products and Categories
The first thing to do is to populate your ecommerce with some data. The ApostropheCMS ecommerce starter comes with the following types of pieces:
- Content Tag: A label to describe products and product categories.
- Product Category: A set of tags.
- Product: An item for sale in the ecommerce platform.
Since the project's content taxonomy is based on tags, start by adding some Content Tag pieces. To do so, click “Content” in the upper left corner, select the “Content Tags” options, and click the “New Content Tag” button on the right:
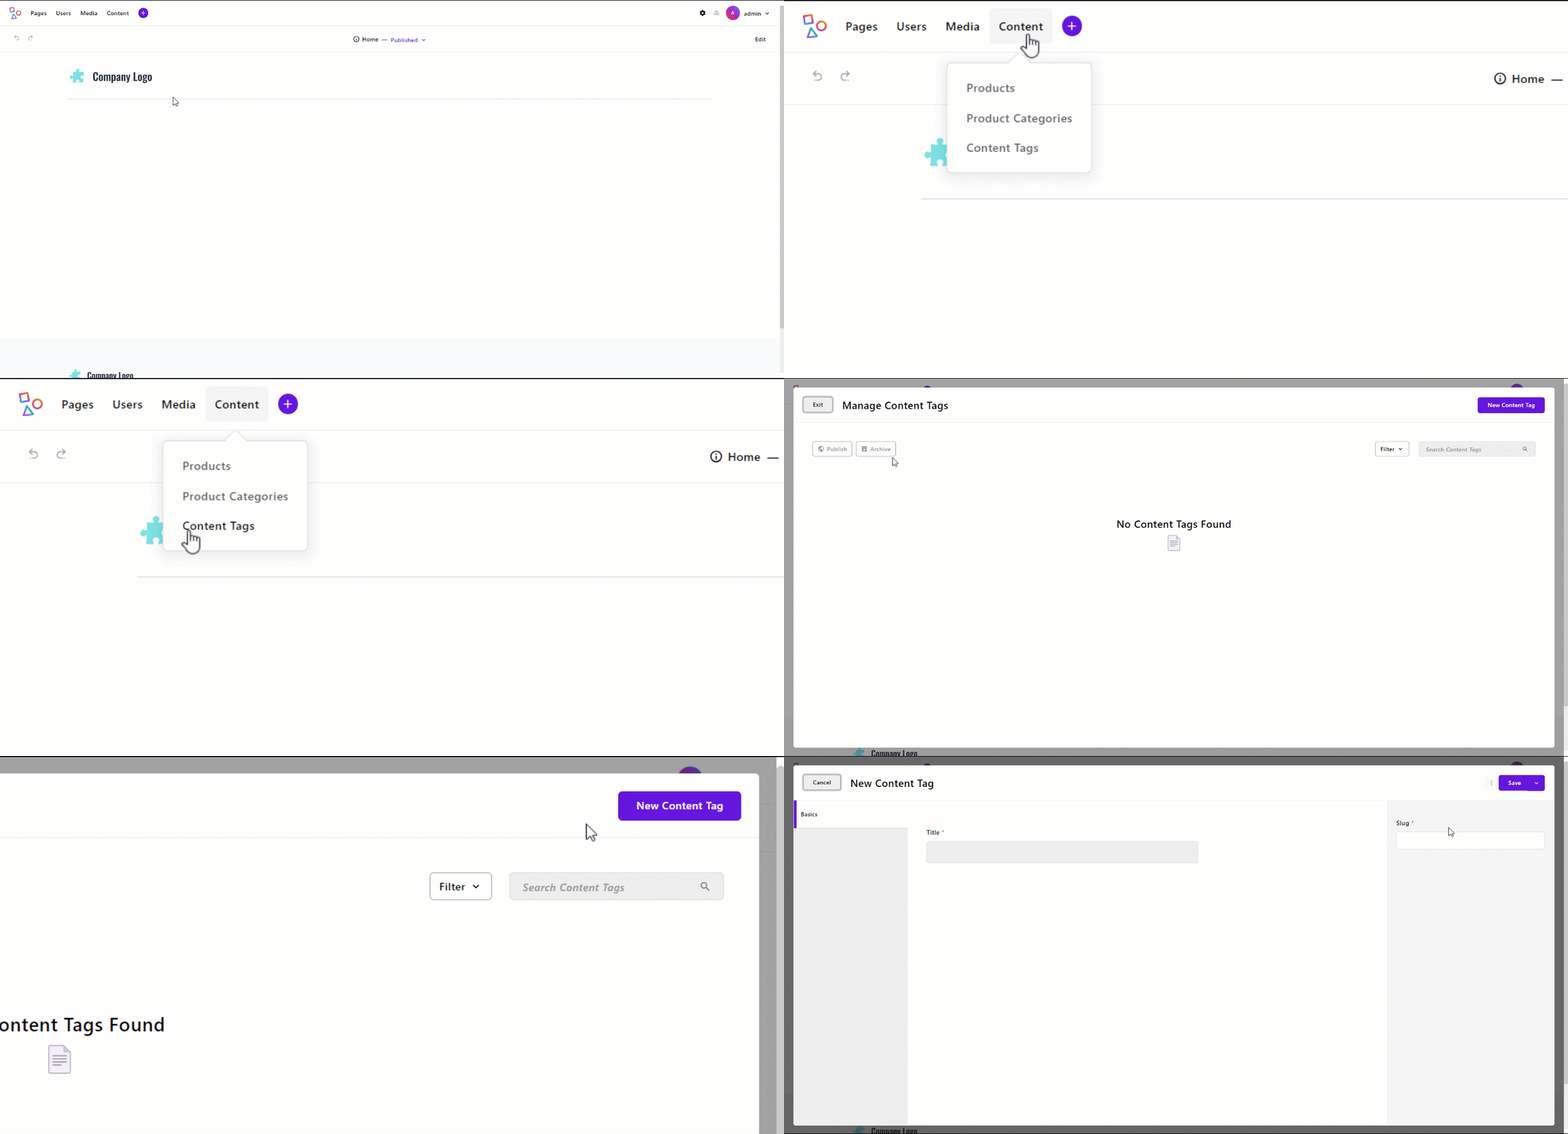
You will reach the following form:
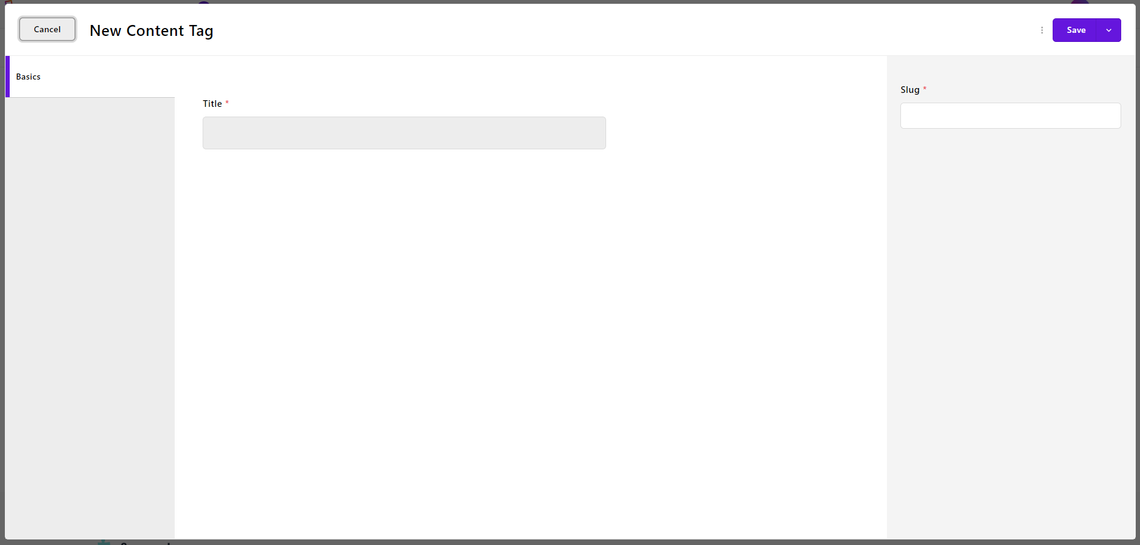
Populate the “Title” field and press “Save” to add a new Content Tag record. Repeat the procedure to create all the tags you need.
Examples of tags are “Shoes,” “T-Shirts,” “Bracelets,” “Necklaces,” “Kids,” “Adults,“ “Women,” “Men,” “Unisex,” “Summer Collection,” “Winter Collection”, “September Sale,” “Black Friday Sale,” etc.
Next, add some “Product Category” records. If you do not plan to use categories, you can skip this part. Otherwise, click “Content,” “Product Categories”, and then the “New Product Category” button. You will reach the following form:

Note that a product category can either correspond to a single tag or cover multiple tags. Thus, you could define the category “Shoes” that corresponds to the tag “Shoes” as well as the category “Accessories” for the tags “Bracelets” and “Necklaces.” By default, the category page associated will automatically show only products that have at least one tag in common among the selected ones.
In the “Page” tab, you can add UI elements that will appear at the top or the bottom of the specific product page (e.g., a call to action or a promo). Instead, the “SEO” and “Open Graph” tabs allow you to specify information for internal search and search engine indexing.
Once you are done, click “Publish” to create a new category for your product. Repeat the procedure to add as many product categories as you need.
You are finally ready to add some products! Open the “Content” menu, select “Products,” and then click on “New Product.” As you can see from the GIF below, the product form allows you to enter a lot of useful information:
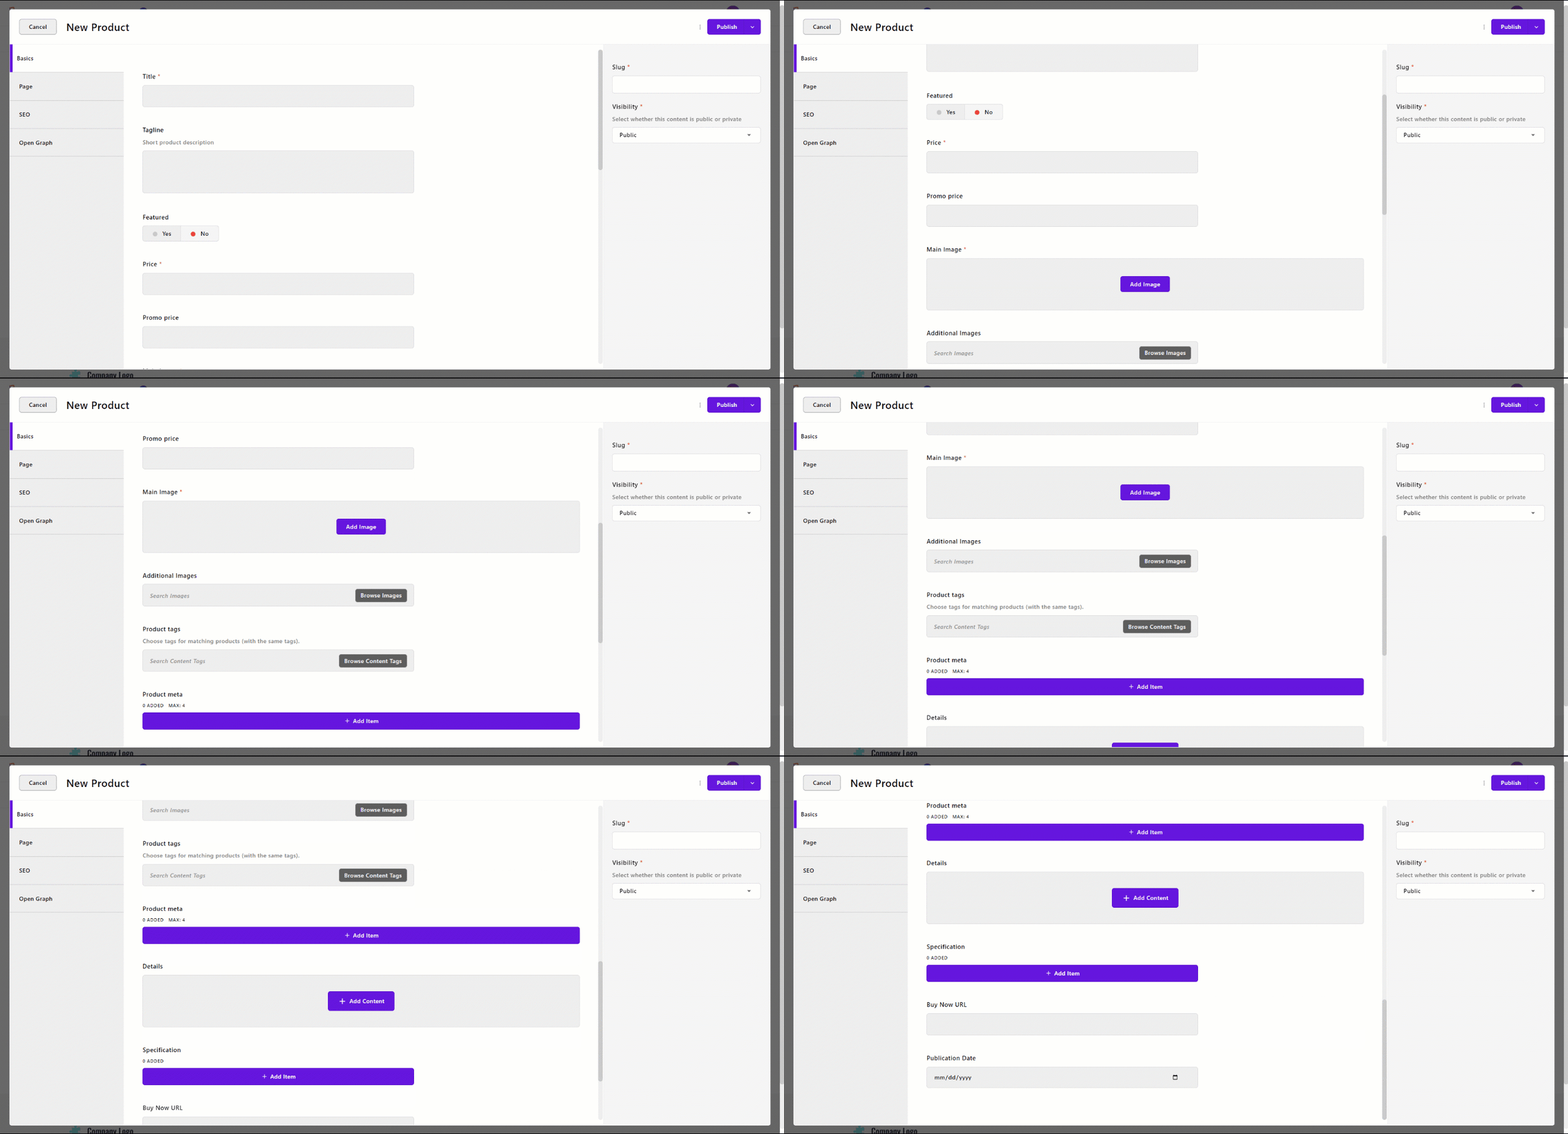
Here, you can upload multiple images, define the price and the discounted price, describe the product's details, add up to 4 meta fields, and more. In particular, there is also a “Buy Now URL” for integration with any online service that provides buy Now URL functionality. Through this, users will have the ability not only to explore products but also to buy them.
In the “Page” tab, you can also customize the elements that will appear at the end of the page (i.e., add a promo or a specific call to action). Do not forget to explore the “SEO” and “Open Graph” tabs to define how search engines will index the page and how the link to the product page will be rendered on social platforms. To find out more, read the SEO and Open Graph section of the starter documentation.
When you are satisfied with the data you have entered, press “Publish” to make the product public. To add new products, perform this procedure again.
Great! You now know how to handle content on your ecommerce site.
Create the Essential Pages
The first step to making your ecommerce site work properly is to add a product page. That is nothing more than a landing page to show all the products in your online store. To create it, click “Pages” in the upper left corner, then press the “New Page” button on the right, and add a new page of the type “Product:”

At this point, you will have the form below in front of you:
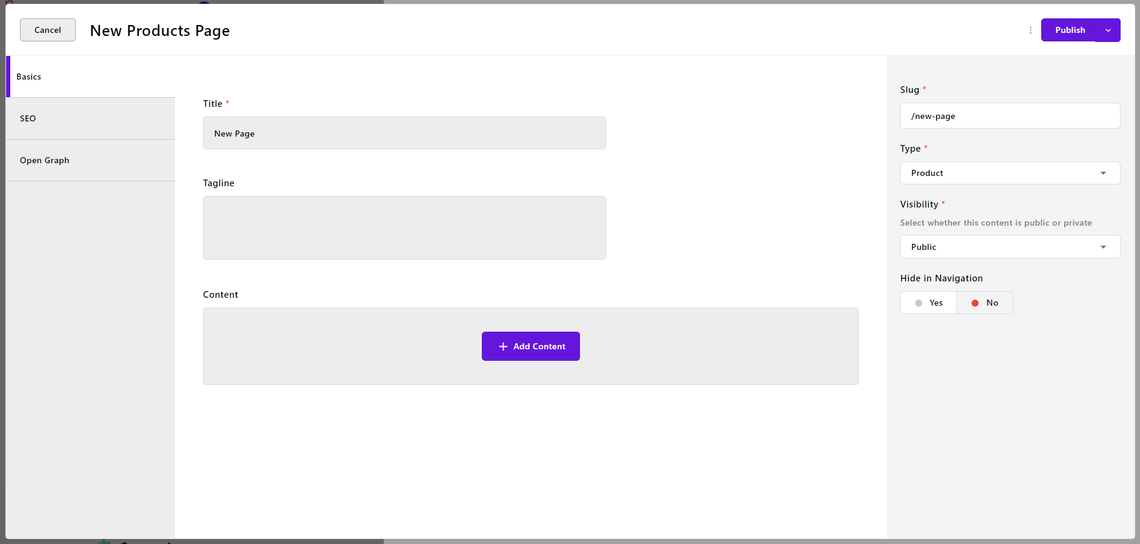
Give your product page a title and a unique slug and click the “Publish” button. By default, the product page will show a list of all your products. If you want to add extra elements at the bottom of the page, you can do it through the rich-text field “Content,” but that is optional. In detail, the ApostropheCMS ecommerce starter pack comes with a set of widgets specifically designed for an online store:

Check out the docs to learn how these widgets work and what they offer.
After publishing the product page, you are ready to explore it and see how it presents the list of all your products. Suppose the product page you just created has products as its slug page. To open it, visit http://localhost/3000/products in your browser. This is what you will see:
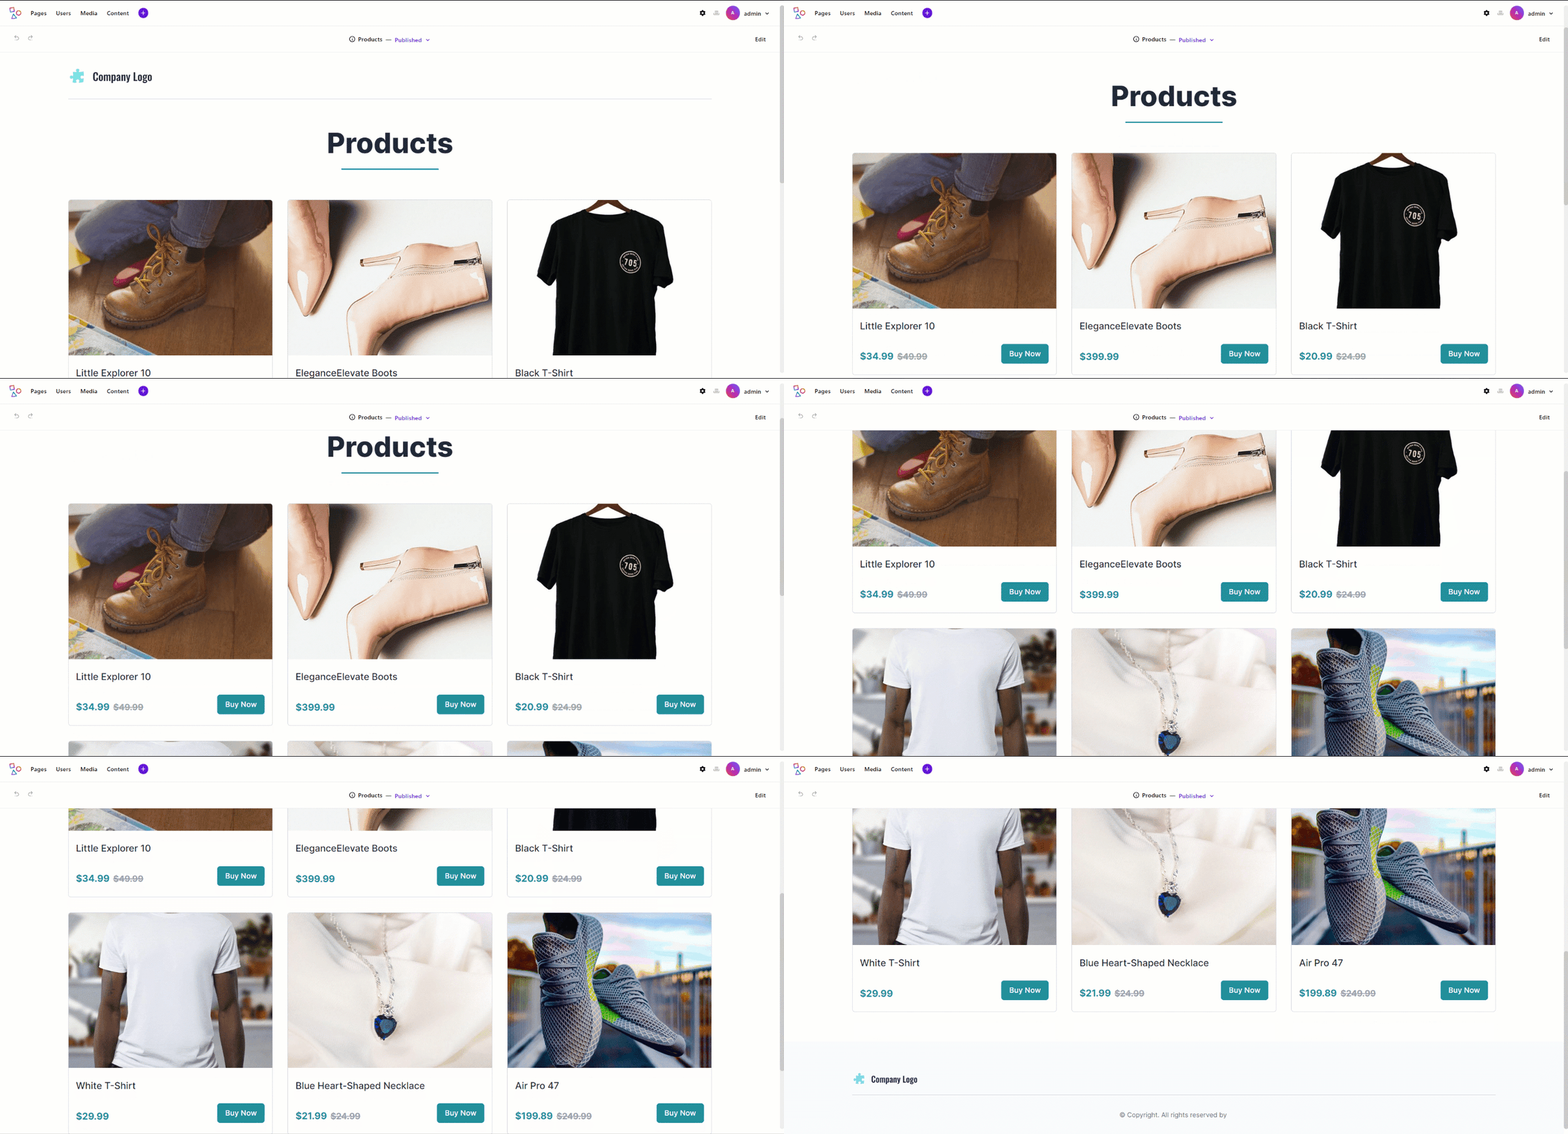
As anticipated earlier, it contains a list with all the products available on your site. If you click on one of the product cards, you will be redirected to the detail page with all the information about the selected product. For example, here is what the product detail page for the “Air Pro 47” sports shoes looks like:
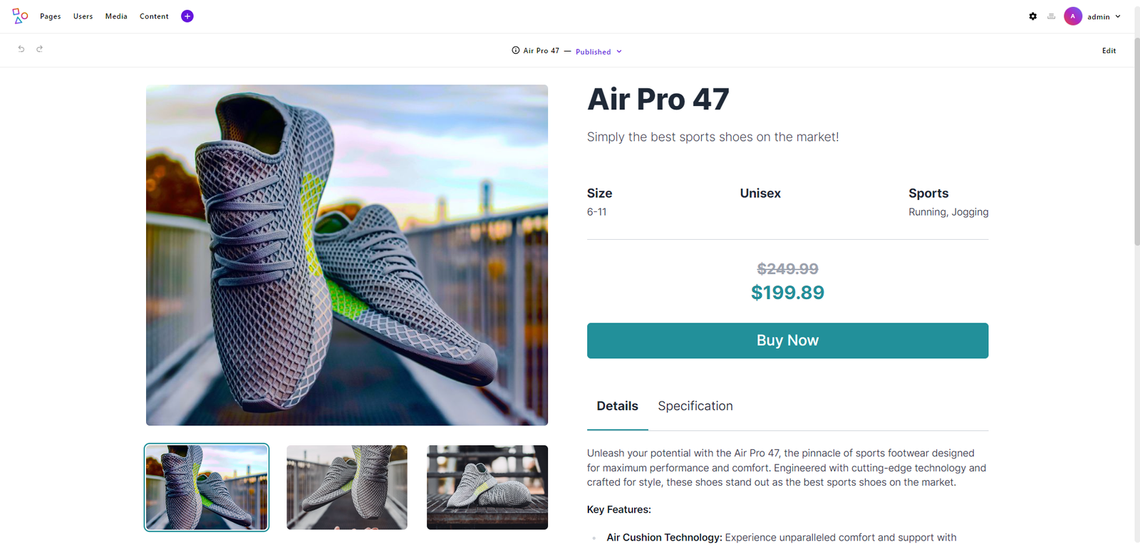
Note that it automatically presents all the information you provided for the product in a visually appealing way.
Amazing, the ecommerce store is starting to come alive!
If your ecommerce site uses categories, you will also need to define a category page. To do so, create a new page of type “Product Category." This will automatically show a list of the available product categories:
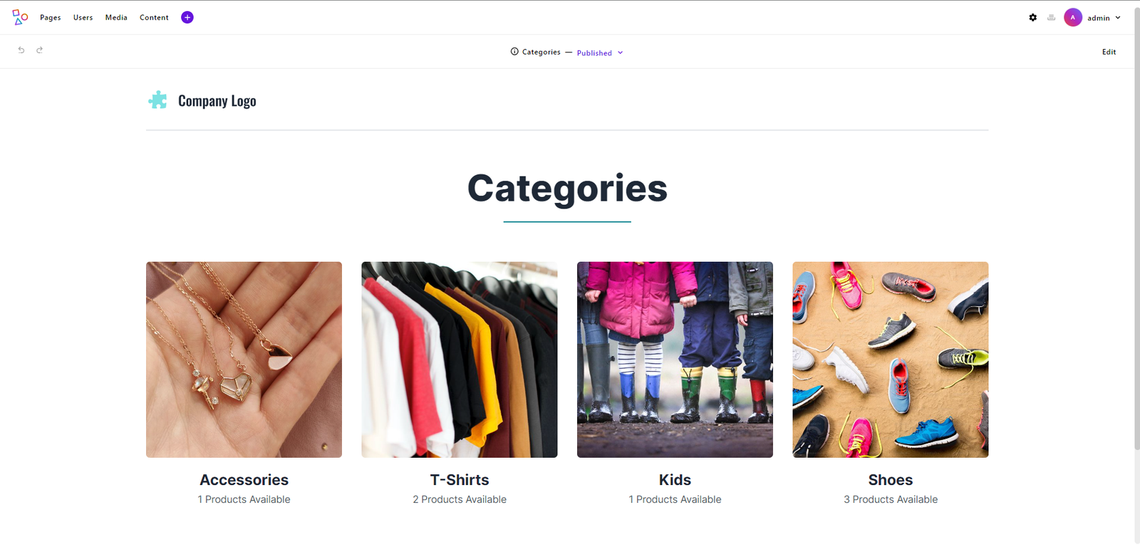
To learn more about products and categories, see the dedicated page on the ecommerce starter documentation.
Populating the Home Page
Your ecommerce site is starting to take shape, but the home page is still completely blank. Time to fix that!
Visit http://localhost:3000 and click the “Edit” button on the right to enter the ApostropheCMS in-context live editing mode:
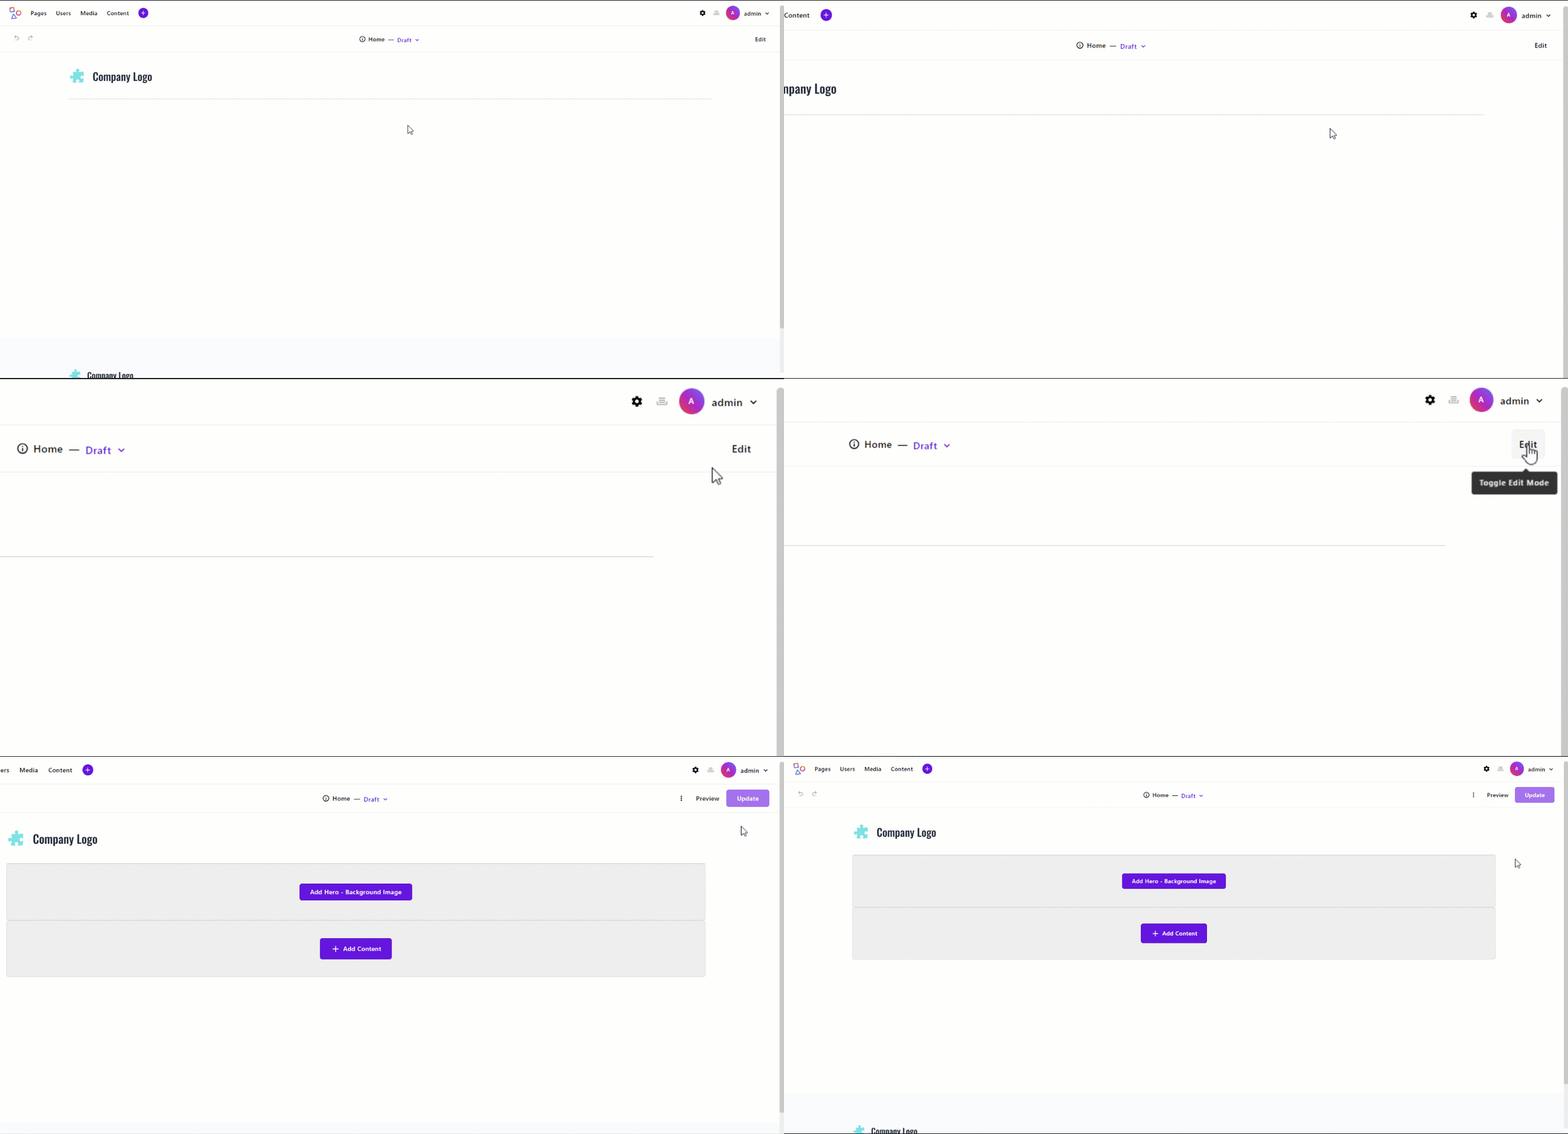
Here, you can customize the content of your home page:
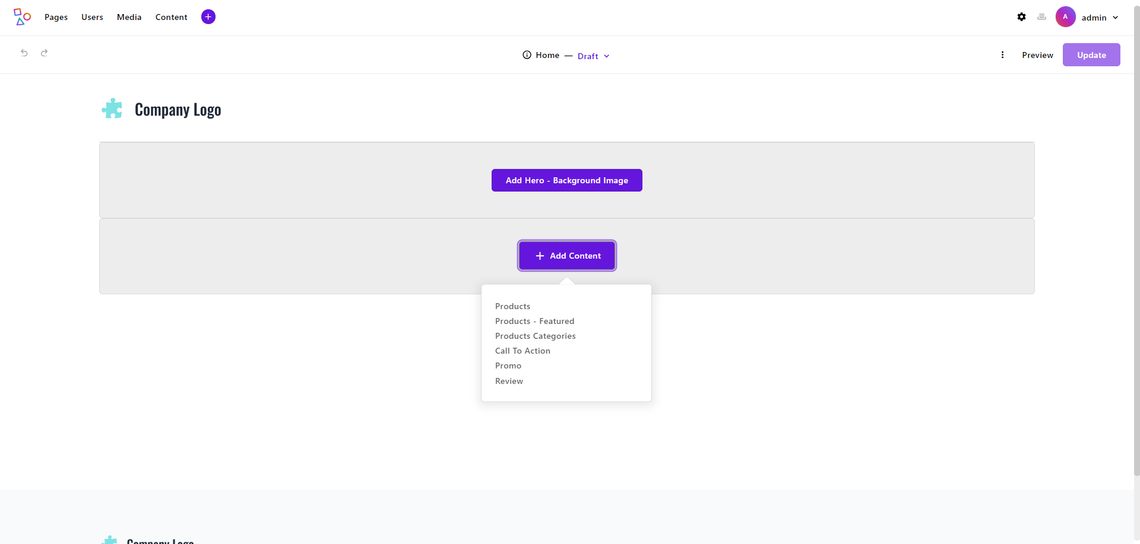
For example, you could add a hero section, followed by a list of the latest products added to the site, followed by a promo and the list of categories as below:
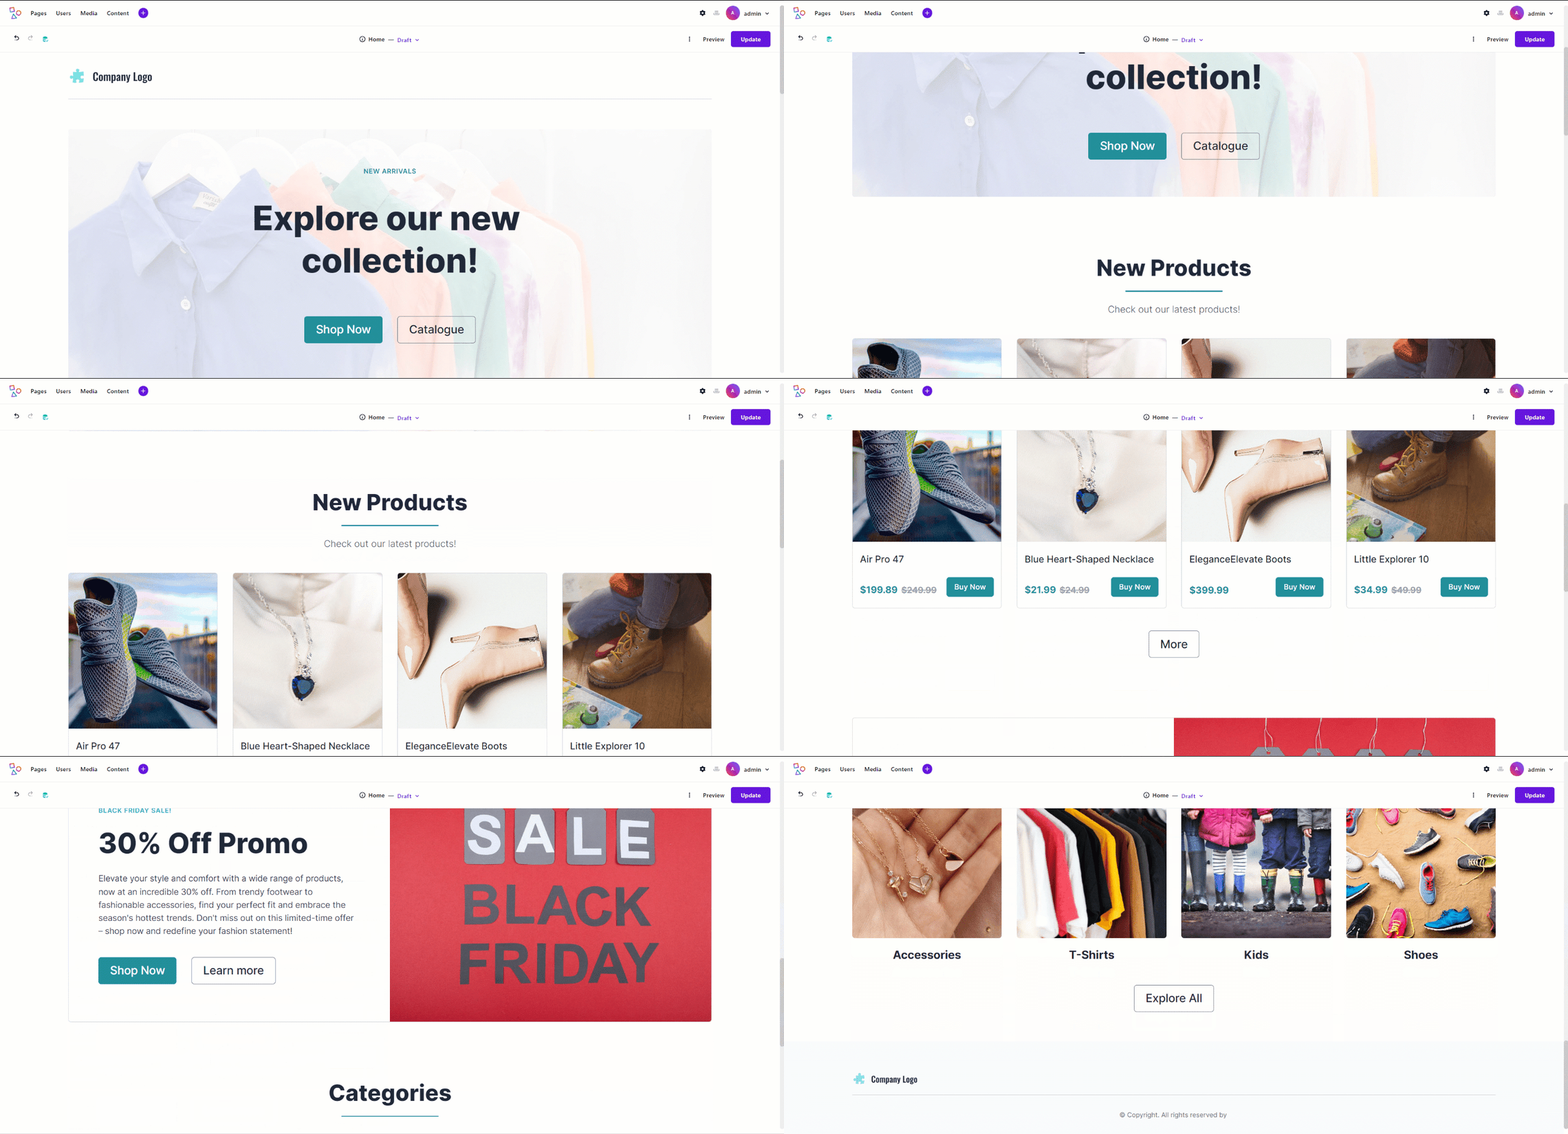
Fantastic! You are almost there!
Add Some Custom Pages
To promote your products and raise brand awareness, your ecommerce site is likely to need some additional pages. This is why the ApostropheCMS Ecommerce Starter Kit enables content creators and marketers to define custom pages.
To add a custom page, click on “Pages” in the top left menu, press “New Page,” and create a new page of type “Default:”
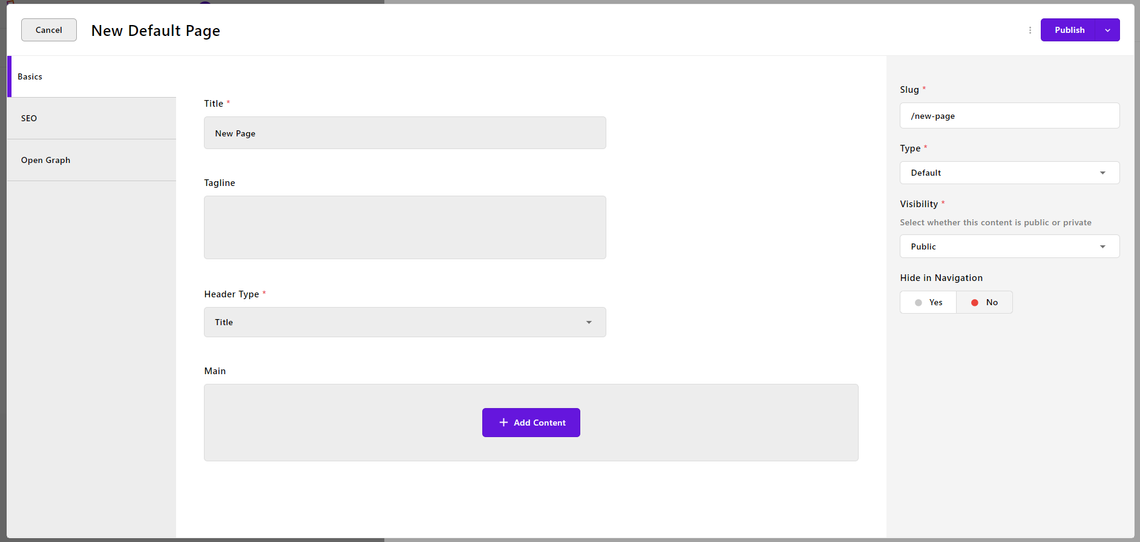
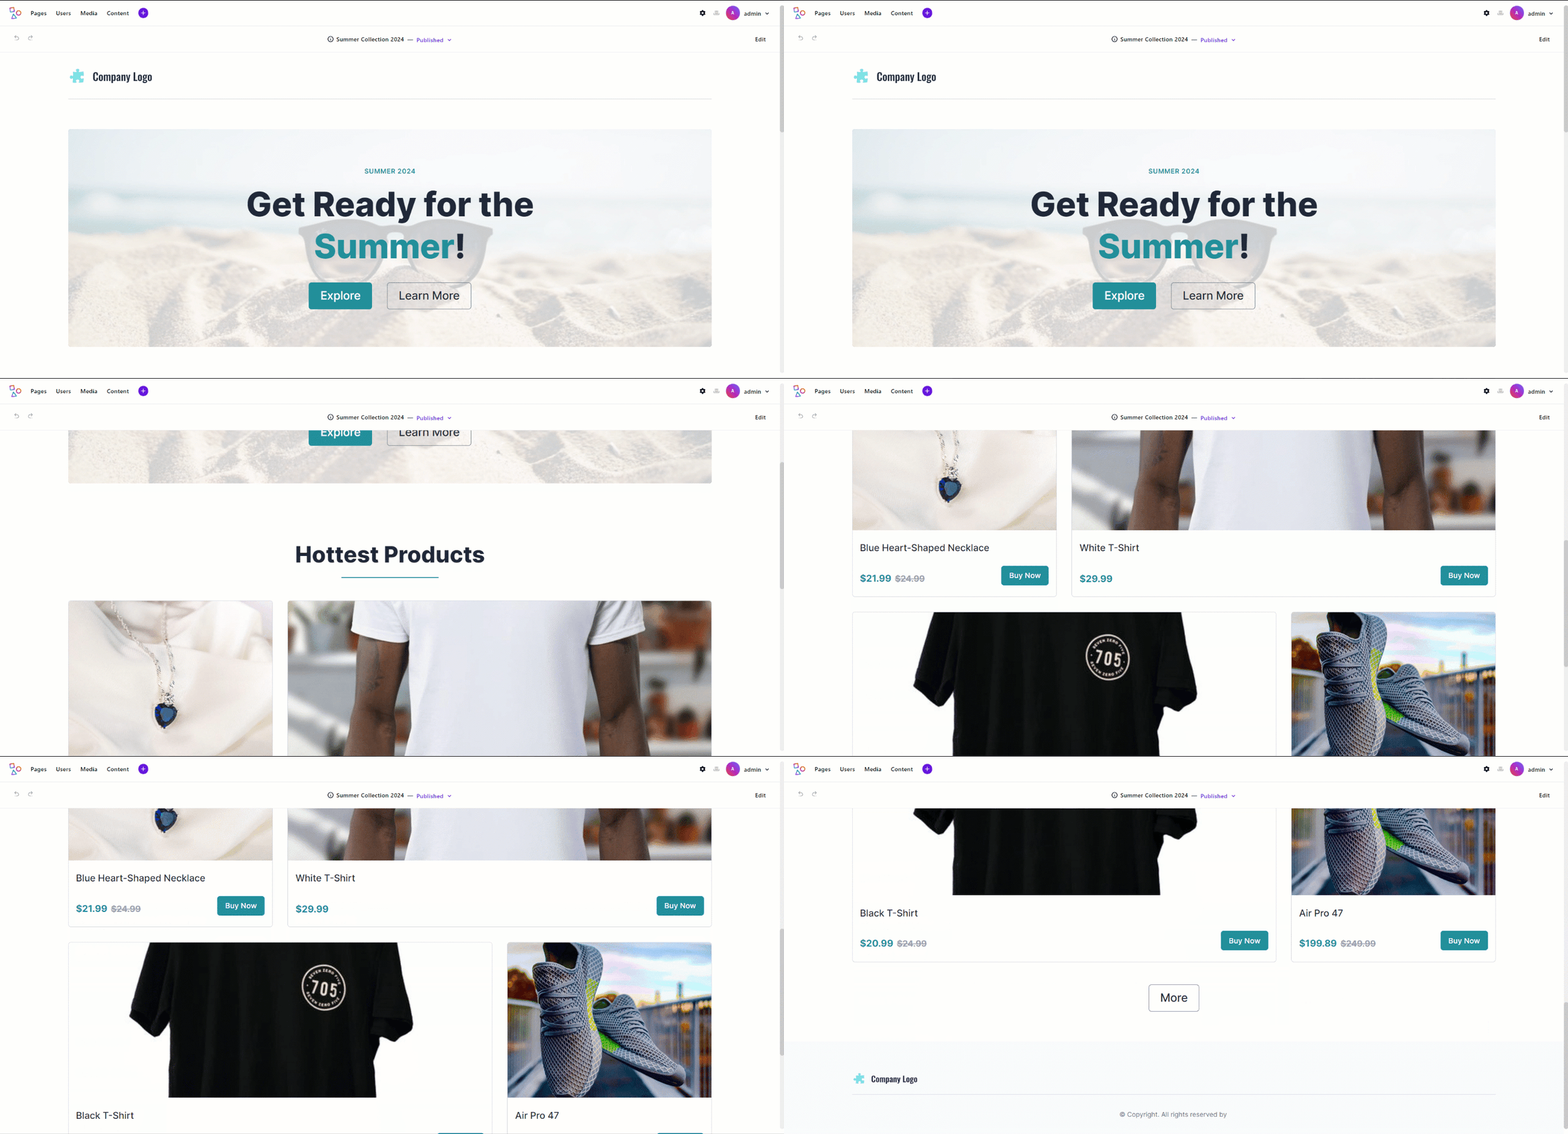
You might use this feature to add an “About Us” page or some landing pages. For example, you could create the following landing page to promote your summer collection:
Explore the documentation to learn more about custom pages.
Customize Your Ecommerce Site
Your ecommerce platform only requires the finishing touches. Get ready to make your ApostropheCMS ecommerce site unique!
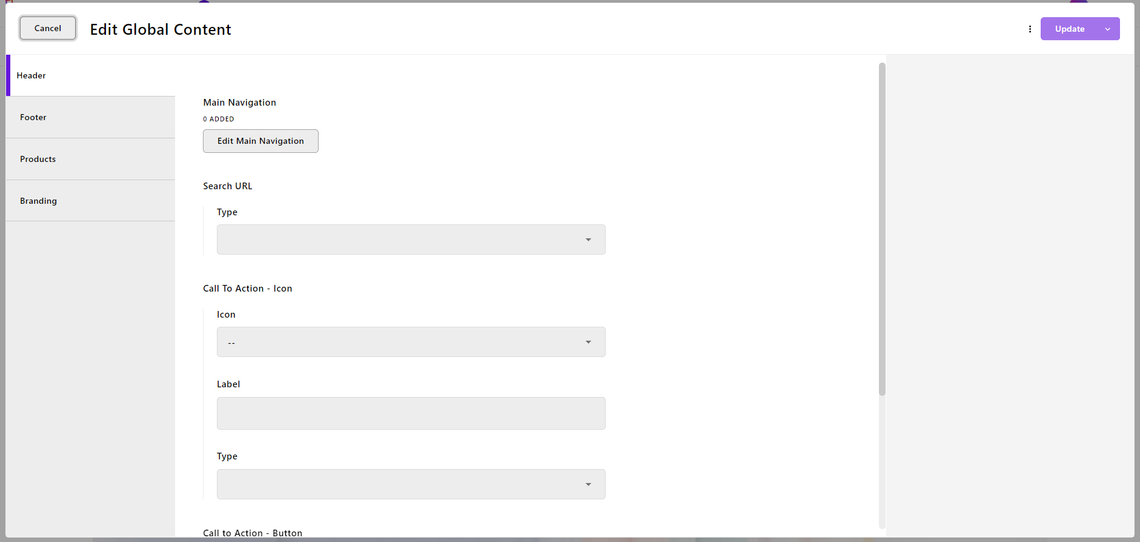
Click on the gear icon at the top right to open the global site settings:

Here you can customize your company logo, site favicon, colors, navigation links, and more:
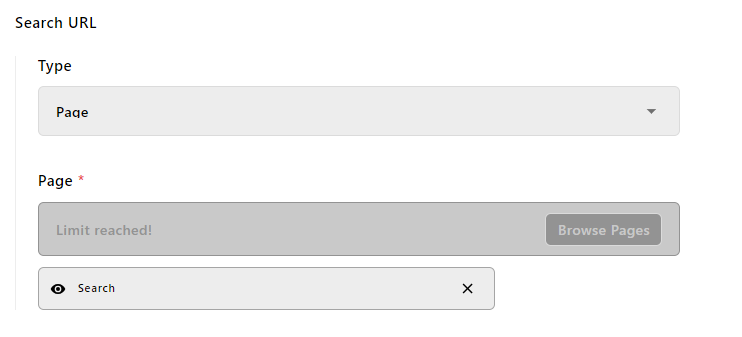
You can also enable the search feature by choosing the “Page” type and selecting the “Search” page as explained in the documentation:
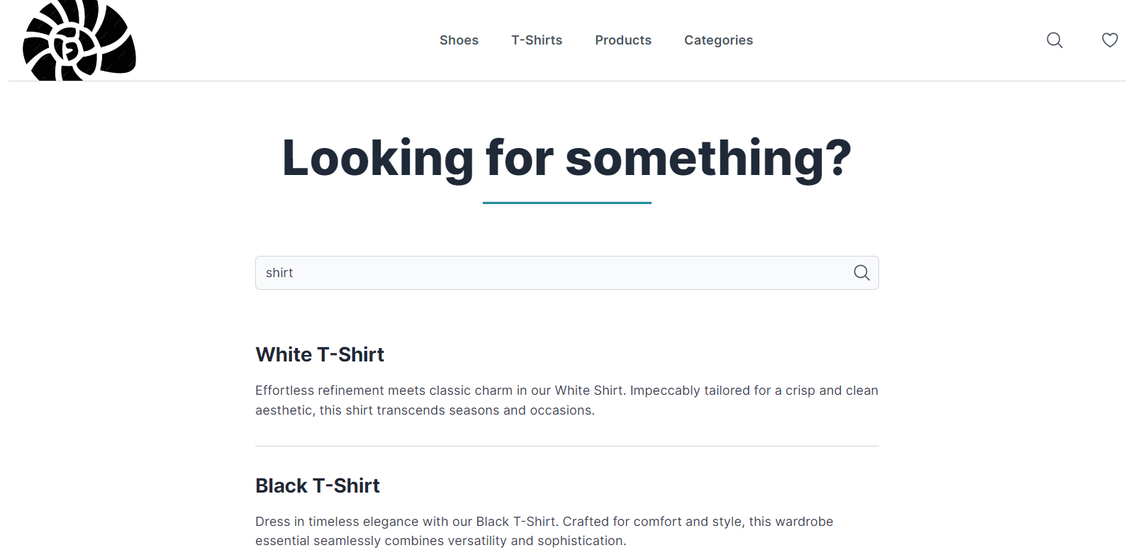
That allows users to find pages based on the content of the “SEO — Description” field or “Tagline” field:
Notice that not all customizations supported by the starter kit are available through that configuration modal. For example, if you want to change the brand palette, you must overwrite the APP_BRAND env before running the npm build command. Find all available color palettes in the /colors folder of your project.
Suppose you want to test the purple palette locally. Then, launch the local development server with:
APP_BRAND="purple" npm run devIf you like that and want to use it in production, you will have to build your ecommerce project with:
APP_BRAND="purple" npm run build
This is what your new site will look like:
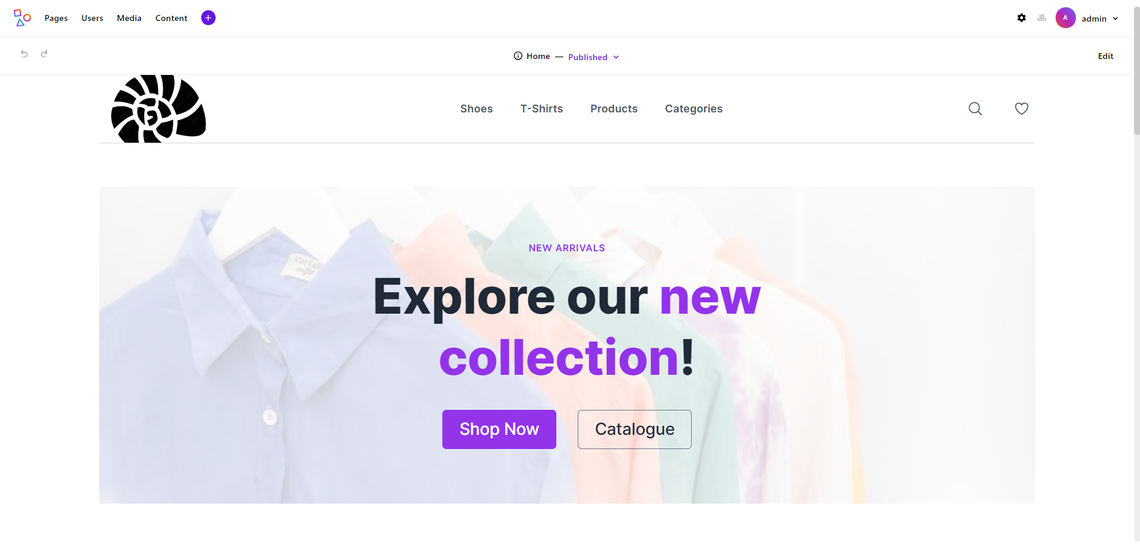
Note the new logo, navigation menu, and how the palette has changed from aquamarine to purple.
Do not forget that all ecommerce components are styled via Tailwind. You can find the Tailwind configuration in tailwind.config.js file in the root folder of the project. Refer to the official Tailwind CSS documentation for more information about the options you can set. For example, you could modify some Tailwind classes used in the application to fit your project needs.
You can also define a custom brand palette for your site, again using Taliwind. Find out more on how to customize the style of your ecommerce site in the Tailwind CSS section in the developer documentation.
For more branding and UI customizations, follow the instructions in the developer documentation.
Et voilà! Your ecommerce platform is finally ready. It is time to see it in action!
Put It All Together
This is what your ecommerce webshop may look like:
ecommerce_webstore
Congratulations! Thanks to the ApostropheCMS ecommerce starter kit, you were able to set up a full-featured ecommerce site in minutes and with a handful of lines of code!
Next Steps
The tutorial is over, but there are still some features you can add to improve this project! In this guide, you learned how easy and quick it is to set up a JavaScript ecommerce project with the ApostropheCMS Ecommerce Starter Kit. The next steps include:
- Add a shopping cart: Offer complete cart functionality through a shopping cart provider such as Snipcart. Learn more about ApostropheCMS and Snipcart integration.
- Integrate a payment system platform: Add a secure payment system platform that supports several payment methods such as Stripe or Braintree.
ApostropheCMS has proven to be a modern and efficient solution to help businesses build ecommerce sites. This is just a taste of what that technology can do. Explore Apostrophe today!

