
As recently highlighted by Apostrophe's CTO, Tom Boutell, in a talk at Philly Tech Week, AI is transforming the CMS industry. At the same time, finding the right way to integrate AI into a CMS may not be easy. That is why the team behind Apostrophe built an AI Helper module to add text and image generation capabilities to the CMS and website builder with just a few lines of code.
Here you will learn what the Apostrophe AI helper is, how it works, and how it can be used to generate content with AI.
What Is the Apostrophe AI Helper Module?
The AI Helper module is one of Apostrophe’s many available extensions. As the name suggests, it is designed to facilitate the introduction of AI-based features in Apostrophe. In other words, AI Helper provides a simplified way to integrate OpenAI functionality into an Apostrophe project with just a few lines of code.
In detail, it relies on the OpenAI API to enhance Apostrophe with AI-driven helpers. Once integrated, the module currently offers:
- An insert menu option to generate rich text from a prompt via GPT, the AI model behind ChatGPT.
- A button to generate an image from a text prompt via DALL-E.
With these two features, editors can ask artificial intelligence to generate Apostrophe-ready content without having to leave the platform. This is a huge productivity boost.
As of this writing, the module is still in beta. The reasons are:
- AI models are still not perfect, and they are prone to produce unreliable results.
- The OpenAI API it depends on is subject to changes.
- Generative AI is evolving so rapidly that the best way to integrate it into Apostrophe could change rapidly in terms of both UI and overall technical approach.
This does not mean that you cannot use it to experiment with generative AI in the content creation process. Quite the opposite!
Add AI to Apostrophe with the AI Helper Module
In this step-by-step tutorial, you will learn how to integrate the Apostrophe AI Helper module into your project. Follow the instructions below and start taking advantage of the power of generative AI!
Note: If you already have an Apostrophe app in place, you can skip the first two steps.
Prerequisites
Before jumping into this section, you need to meet the Apostrophe 3+ prerequisites:
To make the process of initializing an Apostrophe project easier, install the Apostrophe CLI:
npm install -g @apostrophecms/cliYou will now have access to the apos command, through which you can quickly set up and manage Apostrophe projects.
If you are a Windows user, you will also need to configure WSL (Windows Subsystem for Linux) as explained in the official docs.
Great! You are now ready to set up an Apostrophe 3+ project.
Initialize an Apostrophe Project
First, make sure that the MongoDB local server is running by following the official guide for your OS.
In the terminal, enter the folder where you want to create your Apostrophe project and launch:
apos create apos-ai-demoThis command will create an Apostrophe project called apos-ai-demo.
During the process, you will be asked to enter the password for the “admin” user. Type in a secure password and then store it in a safe place.
The apos-ai-demo folder should now contain an ApostropheCMS project. If this is your first Apostrophe project, you should spend some time familiarizing yourself with the Apostrophe file structure.
To start your application, enter the project folder:
cd apos-ai-demoThen, run the development server with:
npm run devYou will receive the following warning message:
WARNING: No session secret provided, please set the secret property of the session property of the @apostrophecms/express module in app.jsDo not worry, you can easily fix that as explained in the docs.
Open the http://localhost:3000/login page in your browser to make sure your Apostrophe starter project is running.
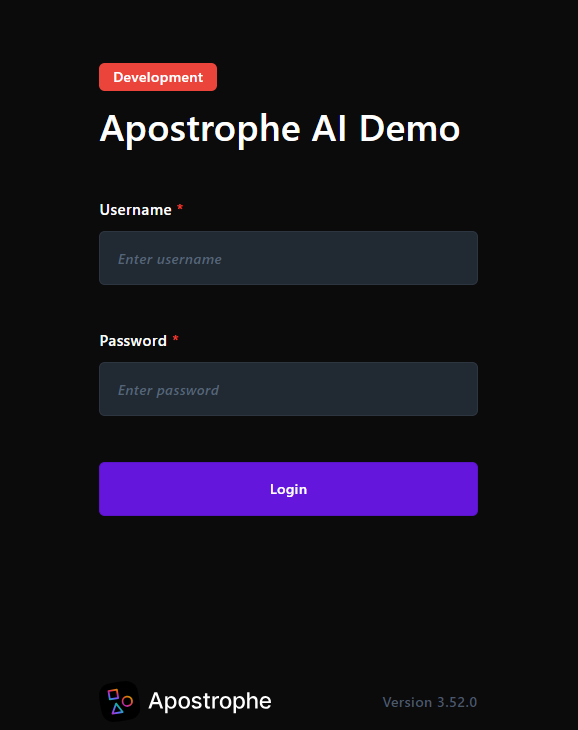
Fill out the form with "admin" as the username and the password set during the initialization process.
After successfully logging in, you will be redirected to the Apostrophe dashboard below:
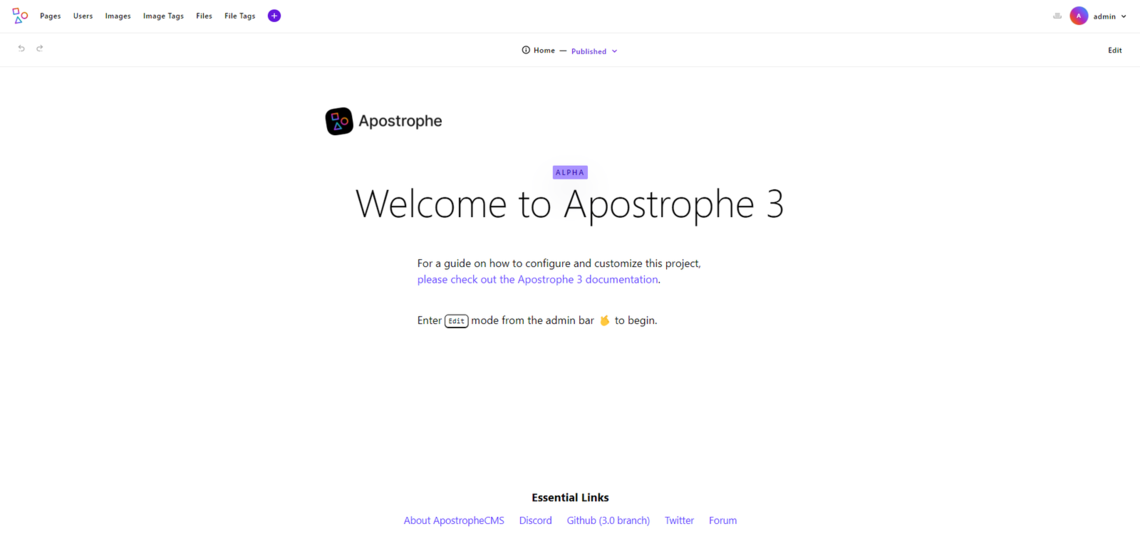
Here, you have access to all the great features offered by ApostropheCMS, including website-building capabilities, an intuitive UI for content management, a drafting system, and in-context editing.
Perfect! You now have an Apostrophe project to extend through the OpenAI APIs.
Integrate the AI Helper Module
In the project folder, run the command below to install the AI Helper module:
npm install @apostrophecms/ai-helperThis will add the @apostrophecms/ai-helper library to your project’s dependencies.
As with any other Apostrophe module, you must first enable it in the app.js file. To do so, make sure app.js contains the following lines:
// app.js

require('apostrophe')({
  // the name of your project
  shortName: 'apos-ia-demo',
  modules: {
    // other modules...

    // enable the ai-helper module
    '@apostrophecms/ai-helper': {},
  },
  // remaining configs...
});
If you run the application, it will now crash with the following error:
Error: APOS_OPENAI_KEY must be set in your environmentThe reason is that the ai-helper module needs an OpenAI API key to function. If you do not have one, follow the procedure below to retrieve your free API key for limited usage:
- Create an OpenAI account.
- Follow the instructions and verify your account.
- Sign in.
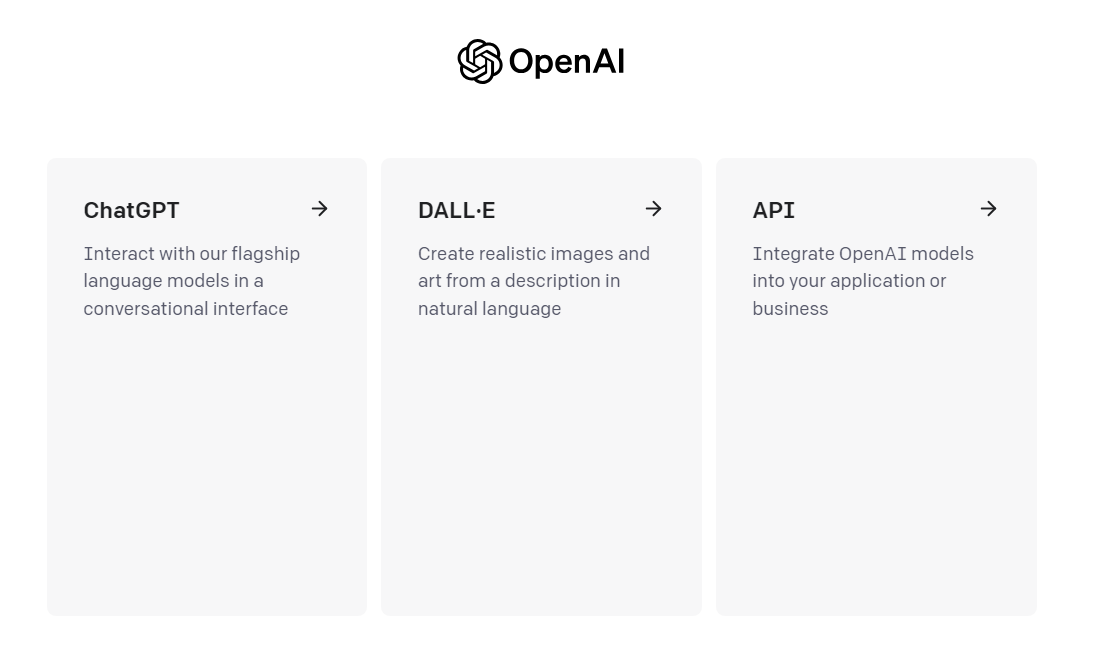
- In the main dashboard, click the “API” card:
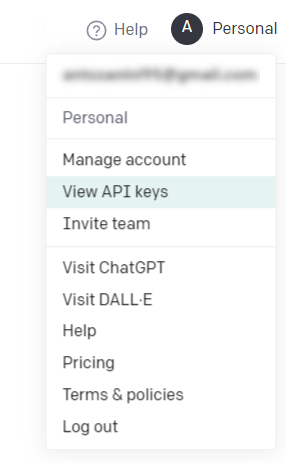
5. Click on your profile image in the upper right corner and select the “View API keys” option:
6. Click the “Create new secret key” button.
7. Call the new API key “Apostrophe” as below:

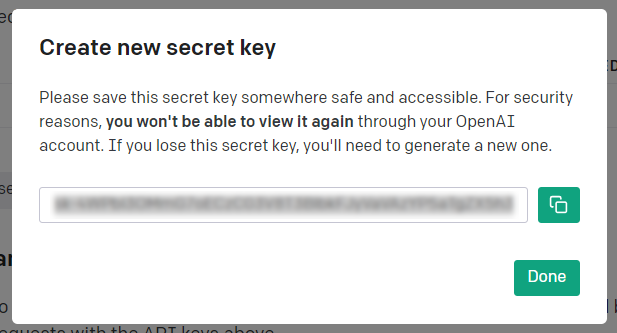
8. Click on the “Create secret key” button.
9. Copy the OpenAI API key and store it in a secret place:
Please keep in mind that when the trial ends, you will be subject to the OpenAI pricing.
You now have to set an APOS_OPENAI_KEY environment variable with the value of your OpenAI API key. On Linux, macOS, or Windows Subsystem for Linux (WSL) Windows with Git Bash, run the command below:
export APOS_OPENAI_KEY=<YOUR_OPENAI_API_KEY>On Windows with PowerShell, run:
$Env:APOS_OPENAI_KEY = "<YOUR_OPENAI_API_KEY>"Replace <YOUR_OPENAI_API_KEY> with the value of the secret API key retrieved above.
That command will configure the required env in the terminal session. In the same terminal window, re-launch the project again:
npm run devThis time, Apostrophe should load with no error.
You are ready to add OpenAI-based AI features to any page that supports the rich-text widget. To achieve that, update the '@apostrophecms/rich-text' module configuration by adding the ai option to the insert property:
insert: [
    // other values...
    'ai'
],
If you then want to ask GPT to generate text with subheadings, you will also need to make sure that styles contains:
styles: [
  {
    tag: 'p',
    label: 'Paragraph (P)'
  },
  {
    tag: 'h2',
    label: 'Heading 2 (H2)'
  },
  {
    tag: 'h3',
    label: 'Heading 3 (H3)'
  },
  {
    tag: 'h4',
    label: 'Heading 4 (H4)'
  }
  // other styles...
],
If you are using the Apostrophe Security Headers plugin, you will also need to add the following config to security-headers/index.js inside modules/@apostrophecms:
// modules/@apostrophecms/security-headers/index.js

module.exports = {
  options: {
    policies: {
      ai: {
        'img-src': '*.blob.core.windows.net'
      }
    }
  }
};
This policy allows you to deal with OpenAI images for editing purposes.
Now, suppose you want to add AI content generation capabilities to the Apostrophe default page module. This is what default-page/index.js inside modules would look like:
// modules/default-page/index.js

module.exports = {
  extend: '@apostrophecms/page-type',
  options: {
    label: 'Default Page'
  },
  fields: {
    add: {
      main: {
        type: 'area',
        options: {
          widgets: {
            '@apostrophecms/rich-text': {
              toolbar: [
                'styles',
                '|',
                'bold',
                'italic',
                'strike',
                'link',
                '|',
                'bulletList',
                'orderedList'
              ],
              styles: [
                {
                  tag: 'p',
                  label: 'Paragraph (P)'
                },
                {
                  tag: 'h2',
                  label: 'Heading 2 (H2)'
                },
                {
                  tag: 'h3',
                  label: 'Heading 3 (H3)'
                },
                {
                  tag: 'h4',
                  label: 'Heading 4 (H4)'
                }
              ],
              insert: [
                'table',
                'image',
                'ai' // add the AI features
              ]
            },
            '@apostrophecms/image': {},
            '@apostrophecms/video': {}
          }
        }
      }
    },
    group: {
      basics: {
        label: 'Basics',
        fields: [
          'title',
          'main'
        ]
      }
    }
  }
};
Great! Add a new ”Default” page to your site to see the artificial intelligence features in action.
Get Ready to Unleash the Power of AI
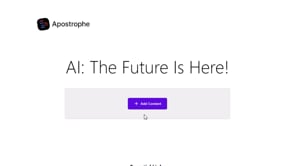
In the Apostrophe dashboard, click “Pages,” and then “New Page.” This will open the modal below:
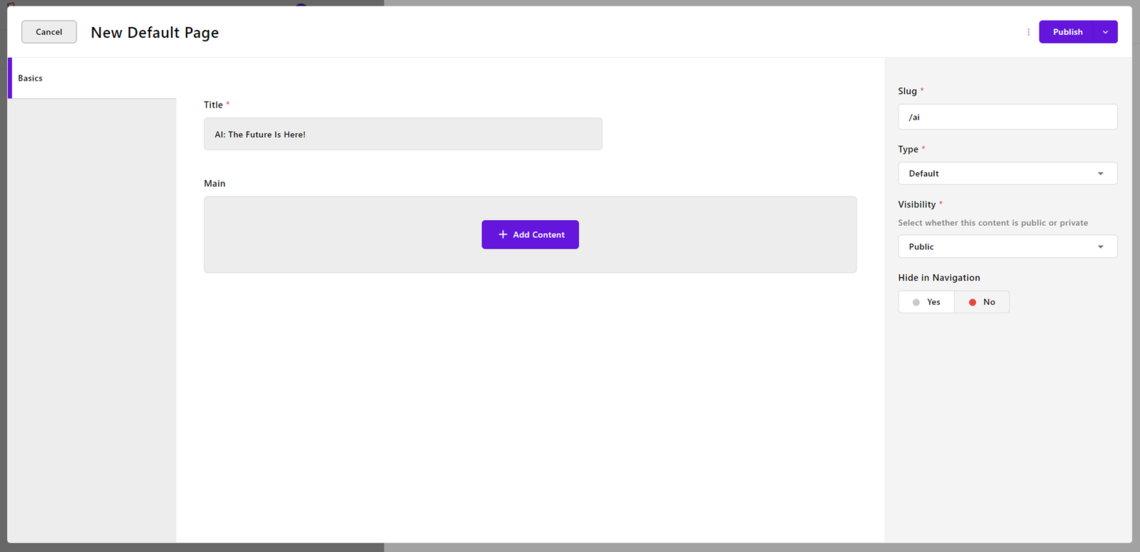
Give your new page a title, select “Default” as page type, and click “Publish.”
A new record will now appear in the “Manage Pages” section:
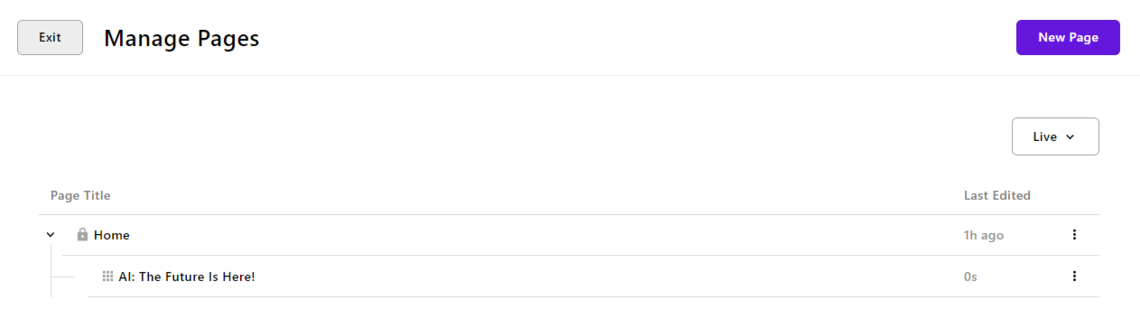
Click the dots on the right and select “Preview” to open the new page:
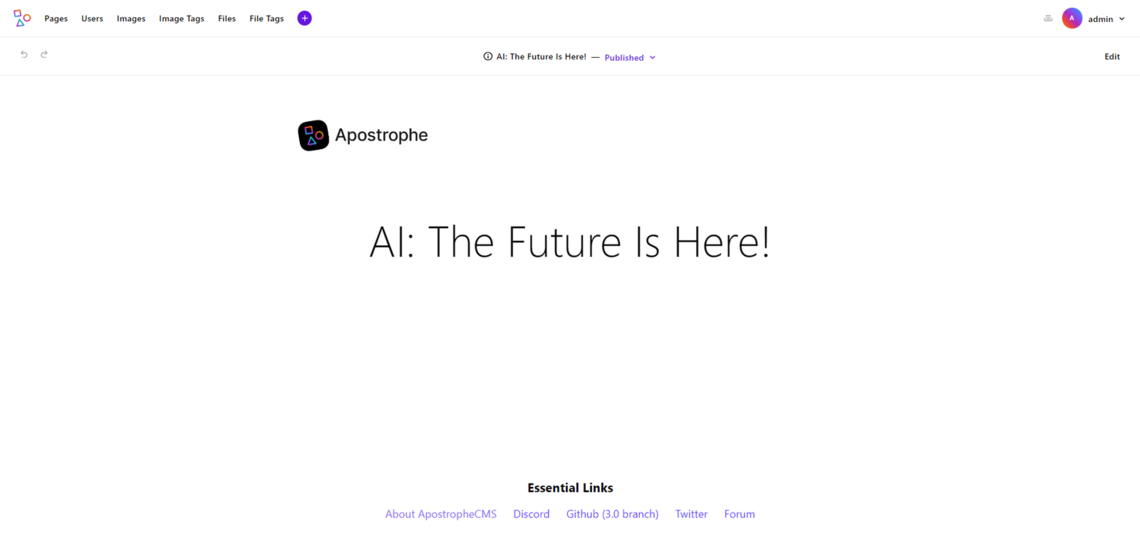
Well done! This blank page is about to get filled with some AI-generated content.
AI Rich Text Generation
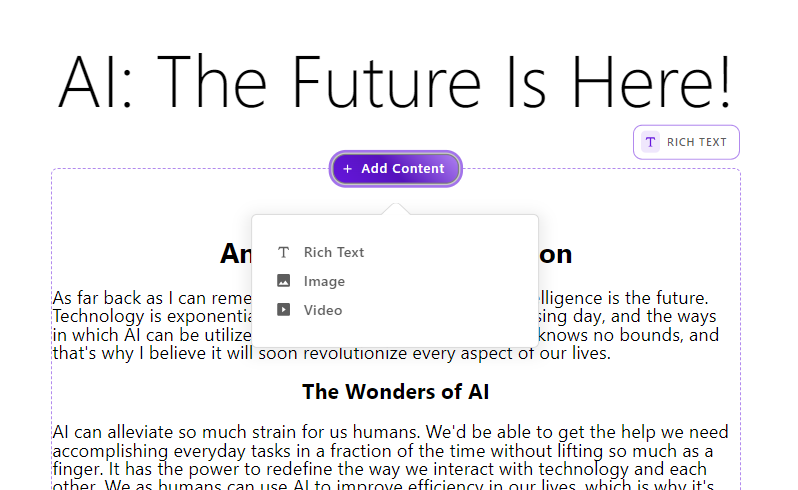
Now that your page is ready to host some AI-generated content, hit the “Edit” button:
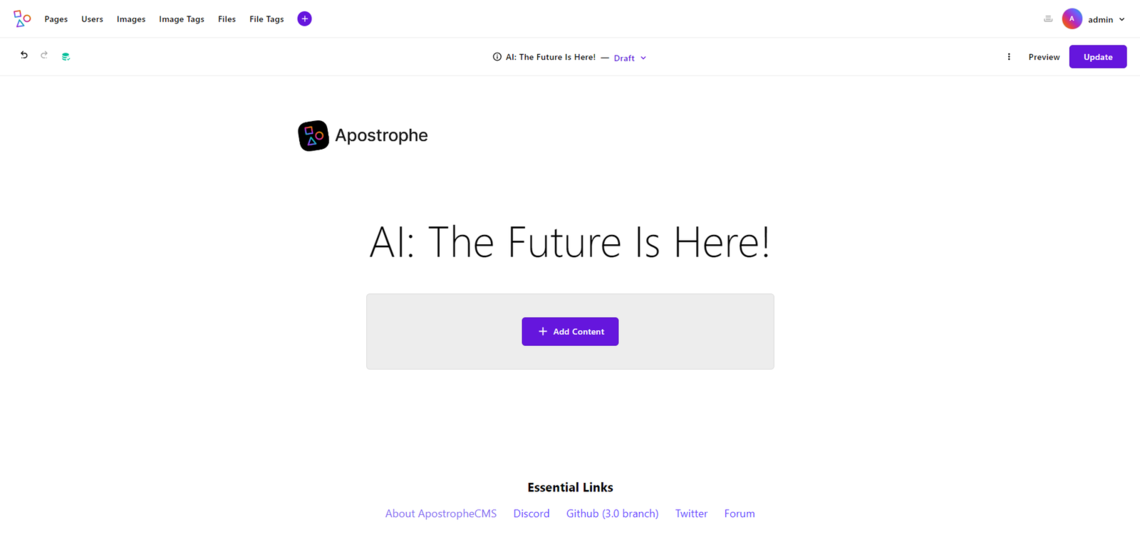
Click “Add Content” and select the “Rich Text” option.
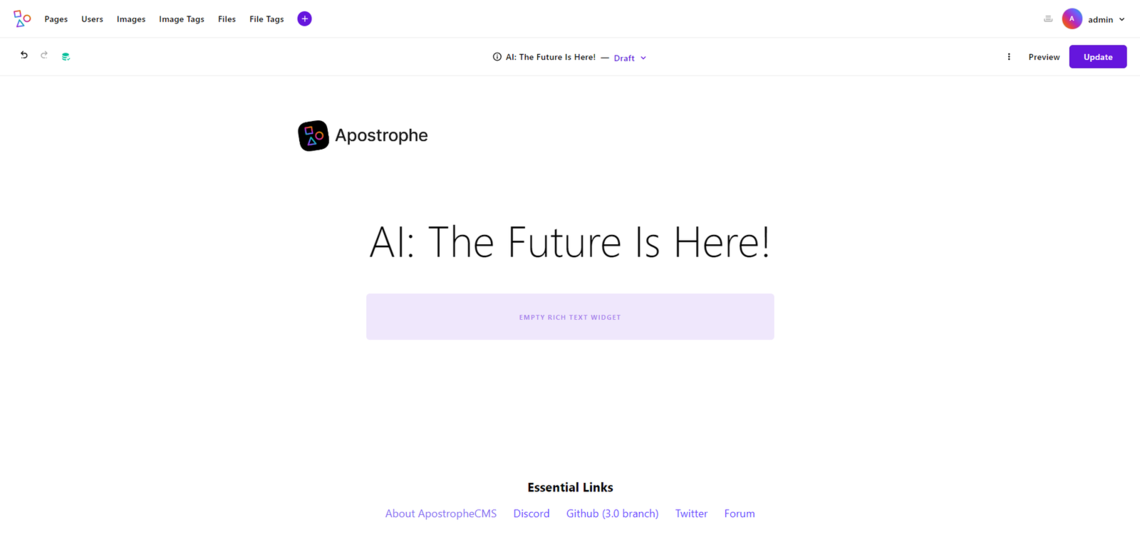
Type “/” in the empty rich text widget to access the element menu and select “Generate Text.”
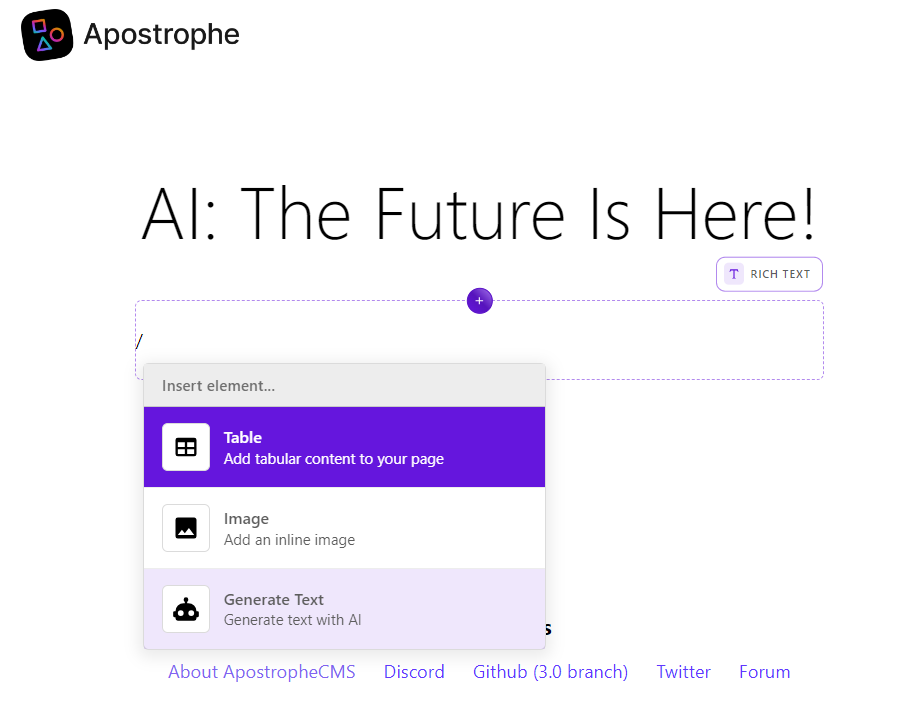
This will open an input area where you can write your prompt for the AI model:
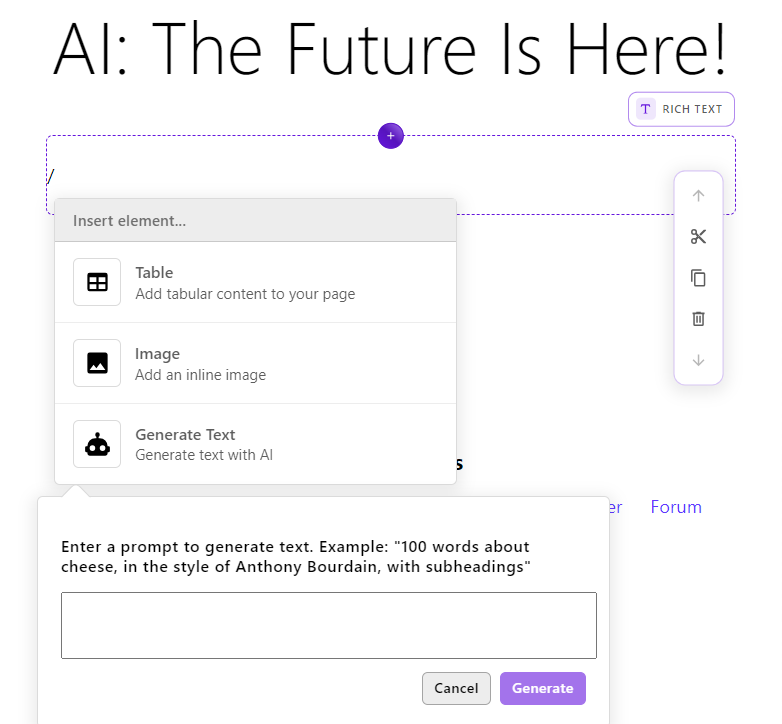
For example, type:
- “100 words about why AI is the future, in the style of Ernest Hemingway, with subheadings”
To write a good prompt, it is also a good idea to specify a word count. Also, do not forget that you can ask GPT to include headings and links.
Click “Generate” and wait for the AI magic to happen.
💥 Boom! Your page will now contain AI-generated formatted text:
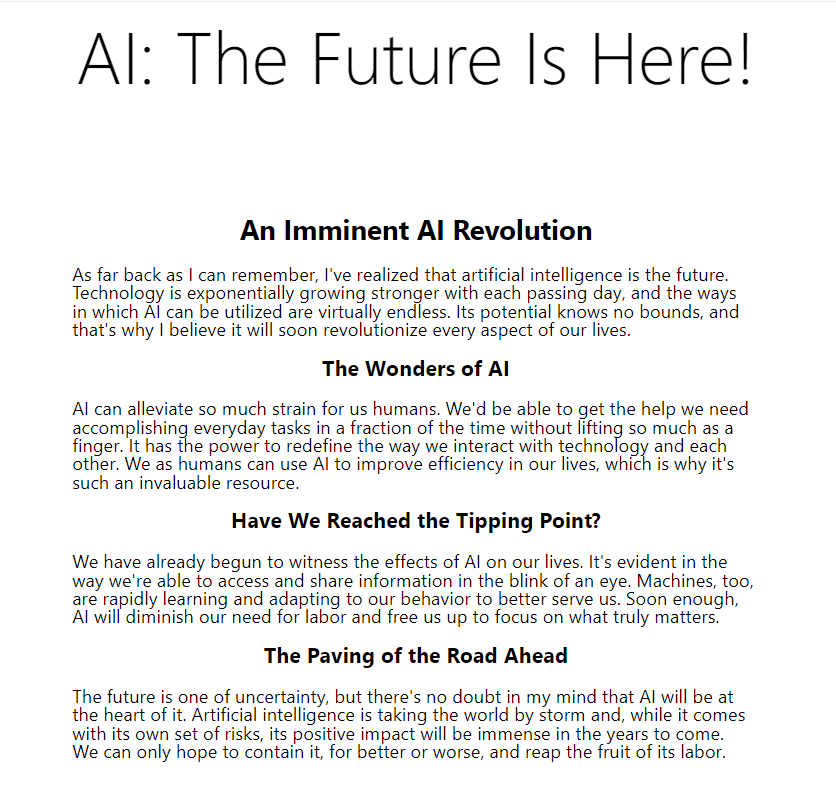
Note that AI could produce surprising or inappropriate results.
See the entire process in action in the video below:
AI text prompt
How AI Helper Rich Text Generation Works
If you are wondering how this works, take a look at the ai-helper-rich-text-widget/index.js file on GitHub. In detail, focus on:
const marked = require('marked');

// ...

prompt = `
  Generate text in markdown format, based on the following prompt:

  ${prompt}
`;
const body = {
  prompt,
  model: aiHelper.options.textModel,
  max_tokens: aiHelper.options.textMaxTokens,
  n: 1
};
const result = await self.apos.http.post('https://api.openai.com/v1/completions', {
    headers: {
      Authorization: `Bearer ${process.env.APOS_OPENAI_KEY}`
    },
    body
});

if (!result?.choices?.[0]?.text) {
  throw self.apos.error('error');
}
let markdown = result.choices[0].text;

// Remap headings to levels actually available in this widget
markdown = markdown.replace(/(^|\n)(#+) /g, (all, before, hashes) => {
  if (!headingLevels.length) {
    return '';
  }
  const level = headingLevels[hashes.length - 1];
  return before + (level ? (before + '#'.repeat(level) + ' ') : '');
});

const html = marked.parse(markdown);
return {
  html
};
What this code snippet does is:
- Tweak the prompt behind the scenes to ask GPT to return a response in Markdown format.
- Perform the API call to the OpenAI server using the
APOS_OPENAI_KEYenv for authentication. - Convert the Markdown string returned by the API to HTML.
This is how the Apostrophe AI Helper extension manages to turn an AI prompt into a structured page with links and subheadings.
If you want to override this default behavior, create a file index.js under modules/@apostrophe/ai-helper-rich-text-widget and initialize it with your custom AI rich text generation logic.
AI Image Generation
Your current page has some interesting content but lacks an eye-catching image. Again, you can use artificial intelligence to generate one.
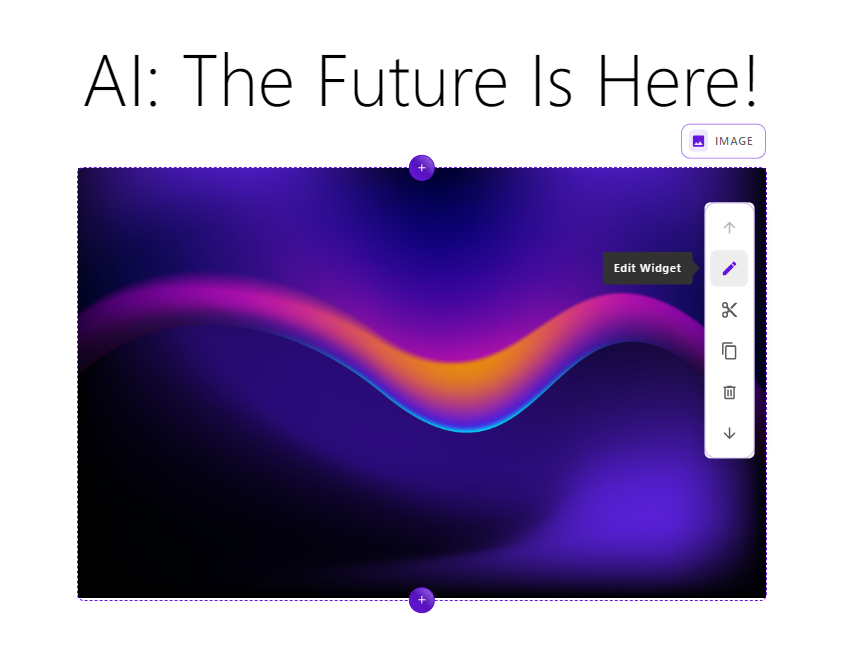
Click the “Add Content” button, and select “Image:”
Apostrophe will add a sample image for you. Click on it and select the “Edit Widget” icon:
Click “Browse Image” and hit the “🤖" (robot) button in the upper right corner.
This will open an input area where you can type your DALL-E prompt:
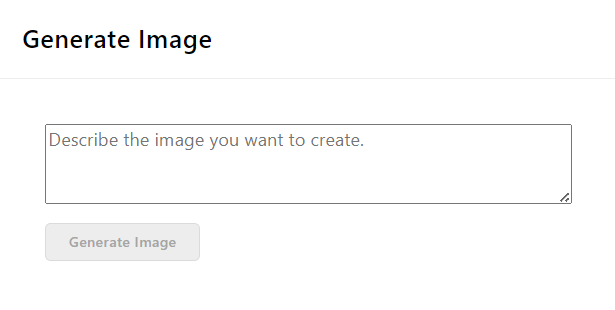
For example, write:
“An image of a futuristic city”
Click “Generate Image,” wait for OpenAI to do its magic, and you should be seeing something as follows:
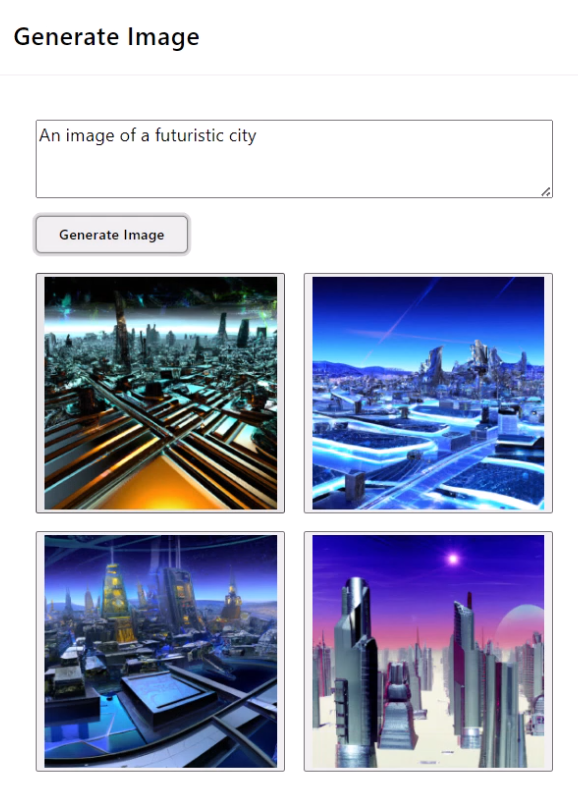
Keep in mind that AI image helper generates 1024x1024 images, which is the maximum size supported by OpenAI. At the time of writing, smaller images are not recommended as they are not much cheaper and are unlikely to look good on a website.
Click on an AI-generated image to open it in a modal:
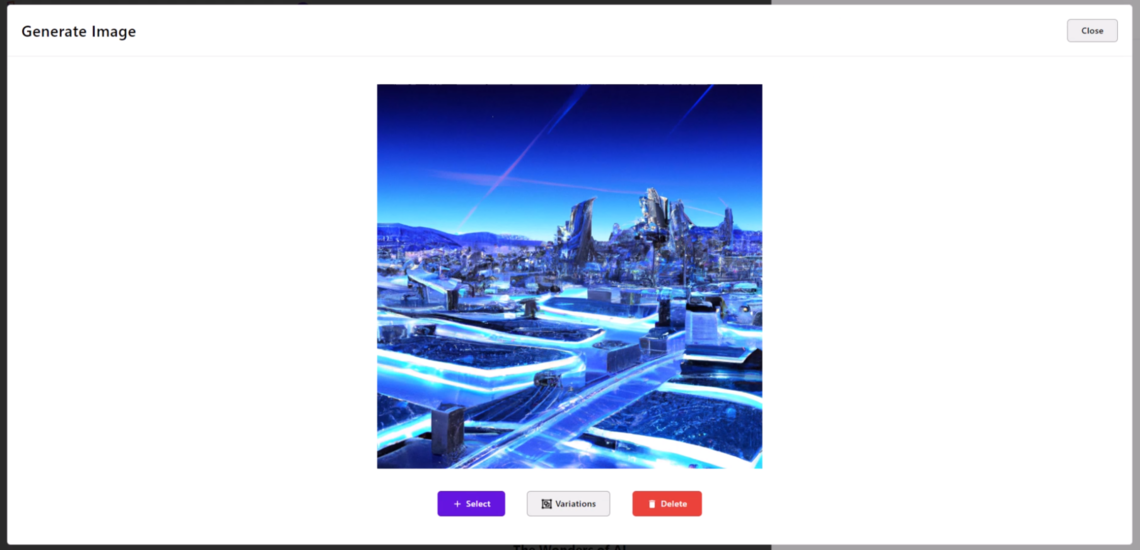
Since DALL-E may produce low-quality results, having the possibility to inspect each image before adding it to the multimedia library is an essential tool. If you are not convinced by the result, click "Delete" to remove the image forever. Otherwise, it will be cached for around one hour before disappearing from the selection section.
In some cases, you may want to ask DALL-E to generate images similar to the current one. This is what the "Variations" button is all about. As you can see in the video below, that will produce four more images:
Variations

Once you found the image you like the most, click “Select” to add it to the article. Here is what the final page looks like:
Watch the video below to better understand how easy the entire AI image generation process is:
AI image prompt

Just as seen before, you can overwrite the default logic by properly defining a modules/@apostrophe/ai-helper-image/index.js file.
Congrats! You just integrated generative AI into Apostrophe!
Conclusion
In this article, you learned what the Apostrophe AI Helper module is and how it can provide generative AI to your editors. In detail, this extension offers a quick and easy way to integrate OpenAI features into your Apostrophe site. Thanks to Apostrophe's extensibility, you can also easily customize the AI content generation logic.
Keep in mind that Apostrophe has just begun dipping its first toes into the AI space. Now that the team has this foundation and a deeper understanding of what is possible, they are excited introduce other features that leverage these powerful generative tools. Keep an eye on the Apostrophe product roadmap!
By following this step-by-step tutorial, you saw how to initialize an Apostrophe project, integrate the AI Helper module, and take advantage of it to reach your content goals. Thanks to AI, writing great content so quickly has never been easier!