

TL;DR: Discover the powerful image editing tools Apostrophe offers to editors. Cropping images and changing their sizes and aspect ratios has never been easier.
Apostrophe is an open-source CMS and website builder that relies on popular technologies like Node.js and Vue.js. In addition to managing your own content, Apostrophe includes several powerful built-in tools, including the image widget which allows editors to add images to web pages and edit them directly in the CMS.
Thanks to the Apostrophe image widget, editors can crop and adjust the aspect ratio of images without using a separate editing tool before uploading them to Apostrophe. Here, you will learn what the Apostrophe image widget is, how to configure it, what features it offers, and what benefits it can bring to editors!
Let’s dig into image editing in Apostrophe!
How Apostrophe Handles Images
Apostrophe is a website builder that supports widgets. You can think of an Apostrophe widget as a building block that can be added to a website to provide new features. One of the most popular and powerful widgets in Apostrophe is the image widget. This equips editors with the ability to add images to a webpage.
In detail, the image widget supports displaying a single image in JPEG, PNG, GIF, JPG, WEBP, or SVG format with its alt text. Thanks to this widget, users can build web pages including images directly in the Apostrophe in-context editor.
The image widget in Apostrophe offers a variety of features, including:
- Support for different image formats.
- Lazy loading functionality with a customizable placeholder.
- Alt text other meta data support.
- Responsive design support.
- Ability to configure image size, aspect ratio, and focal point.
- Cropping capabilities.
Note that the rich-text widget also supports images via the image option. However, this feature is still in beta at the time of writing and does not provide all the functionality offered by the image widget.
Time to jump into the editing capabilities offered by the Apostrophe image widget!
Image Editing Tools in Apostrophe
Before getting started, you need an Apostrophe 3 project. If you do not have one, follow the official guide to get started with Apostrophe.
Keep in mind that you can enable the built-in image widget in any area field, specifically, the following two scenarios:
To add an image field to an Apostrophe piece:
Suppose you built a blog with the Apostrophe blog module and want to add a featured image to your articles. You can achieve that as below:
// modules/@apostrophecms/blog/index.js

module.exports = {
  // ...
  fields: {
    add: {
      photo: {
        label: 'Featured image',
        type: 'area',
        options: {
          max: 1, // to allow a single image
          widgets: {
            '@apostrophecms/image': {}
          }
        }
      }
    }
  }
};
To allow images in the main content of an Apostrophe page:
Enable your editors to build a homepage that involves images by making sure that the page configuration file contains the following code:
// modules/@apostrophecms/home-page/index.js

module.exports = {
  // ...
  fields: {
    add: {
      main: {
        type: 'area',
        options: {
          widgets: {
            '@apostrophecms/rich-text': {
              // omitted for brevity...
            },
           '@apostrophecms/video': {},

            // ...

            // allow images in the main content
            '@apostrophecms/image': {},
          }
        }
      }
    }
  }
};
Both use cases above have the @apostrophecms/image widget in common. As explained earlier, this is a powerful tool that supports many customizations and features, including built-in editing tools that allow editors to crop images as they select them. In other words, all images managed through the @apostrophecms/image widget can be edited in-context directly in Apostrophe. No additional configuration or tools is required.
See the Apostrophe image widget in action!
Getting Started with the Image Widget
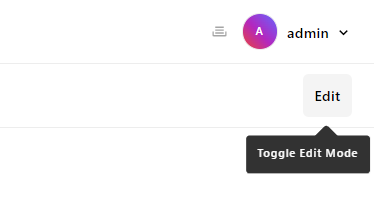
After setting up the Apostrophe image widget, you can now upload, select, and edit images. To get started with images, click on the “Edit” button on your target page.
In the area section, click on “+,” and select the “Image” option:
This will add a placeholder image to your page. To change it, click on it and select the “Edit Widget” icon.
On the right, you should now be seeing the “Edit image” column below:
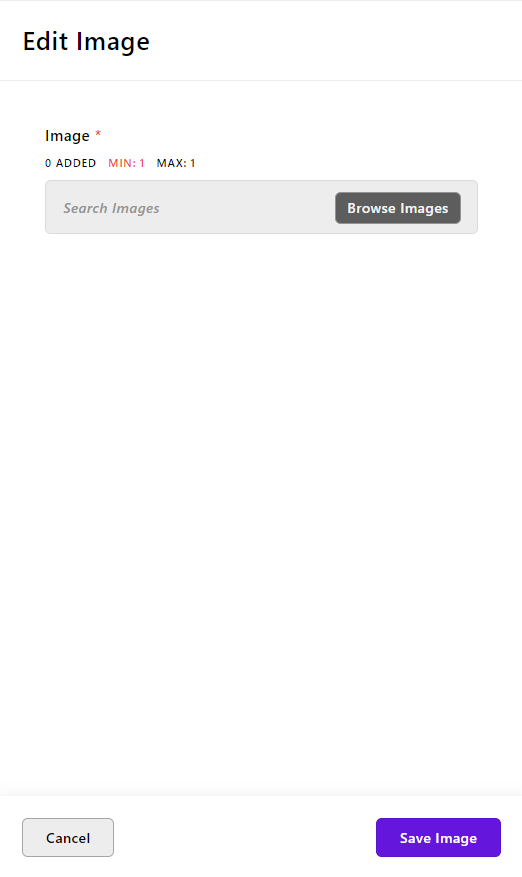
Click on “Browse Images” and upload an image as follows:

Give your image a title and a slug, then click on “Save.” Tap “Select image” and finally click on “Save Image” to replace the original placeholder with your newly updated image.
Congrats! You just uploaded an image in Apostrophe. You can verify this by taking a look at the public/uploads folder of your project. This will now contain an attachments folder with the following files:
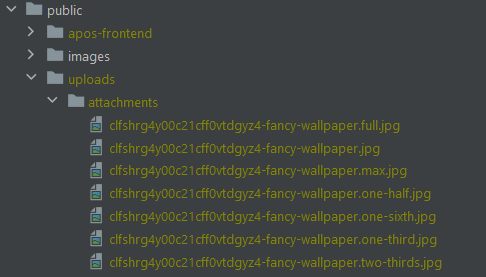
Note that Apostrophe stores the original image along with some automatically resized images. By default, Apostrophe creates six resized images, but you can customize this behavior for a different number or set of size dimensions.
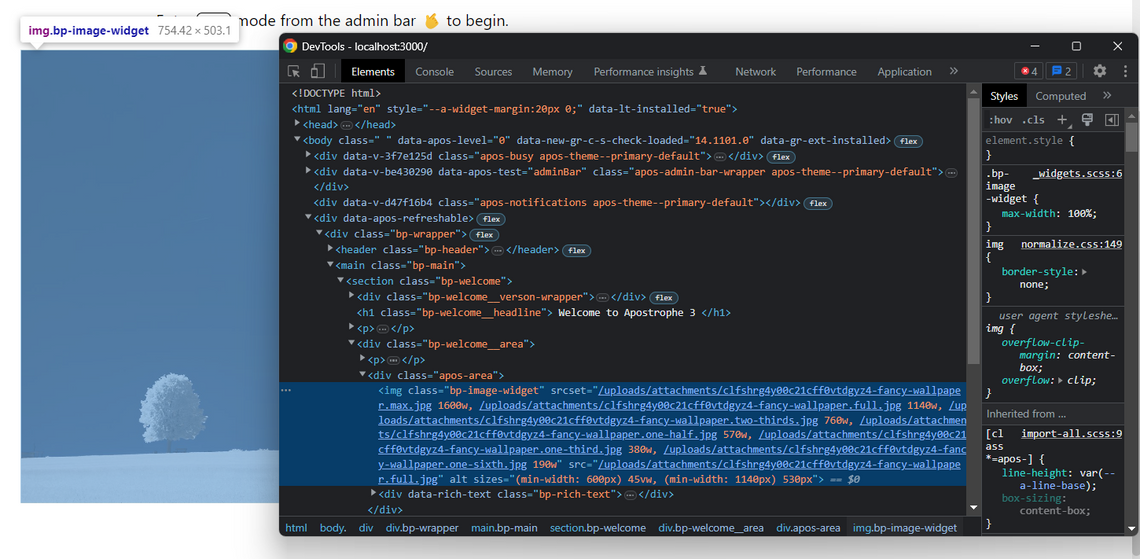
To display the right image file, Apostrophe relies on the srcset attribute. At the same time, older browsers may still rely on the static src attribute value. In that field, Apostrophe uses the full image variant, which is no larger than 1,140px by 1,140px.
You can change this default behavior by specifying a fallback image size as follows:
// modules/@apostrophecms/home-page/index.js

module.exports = {
  // ...
  fields: {
    add: {
      main: {
        type: 'area',
        options: {
          widgets: {
            // ...
            '@apostrophecms/image': {
              size: 'one-half',
            },
          }
        }
      }
    },
  }
};
Now, the src attribute will reference the one-half image file:
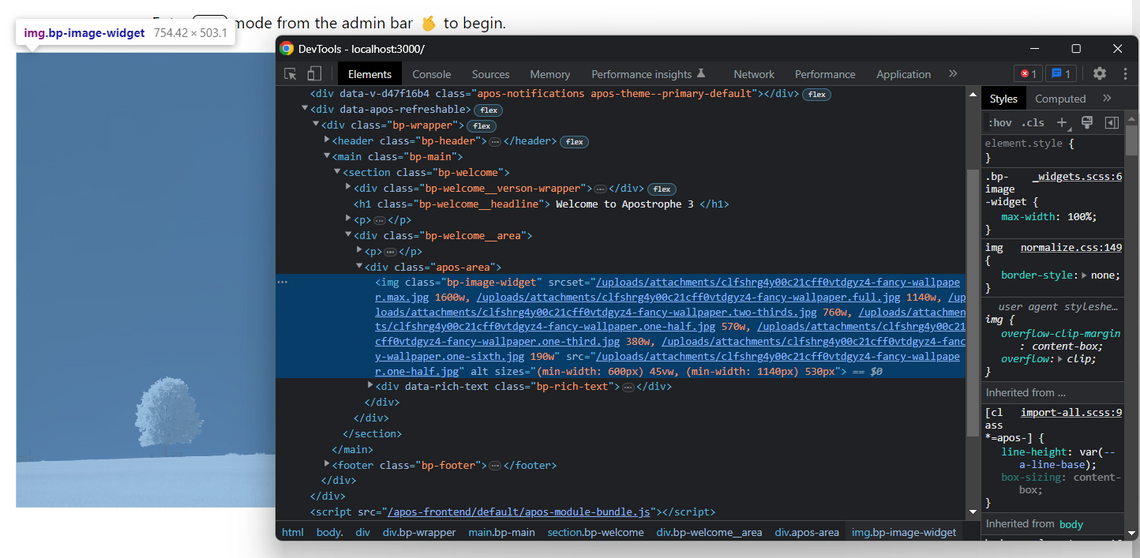
Note that the src field uses the one-half version of the image.
It is time to learn how to crop images in Apostrophe!
Default Editing Tools
If you want to access the Apostrophe image editing tools, click on the image, select “Edit widget,” and click on the “Image adjustments” icon:
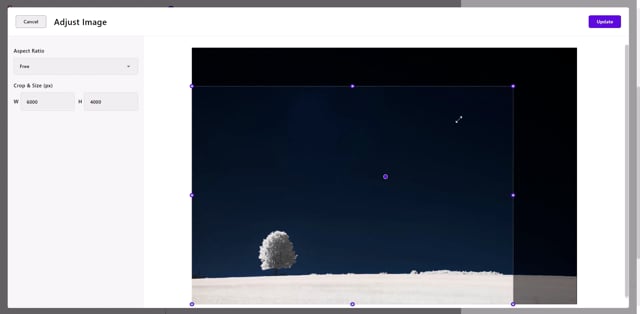
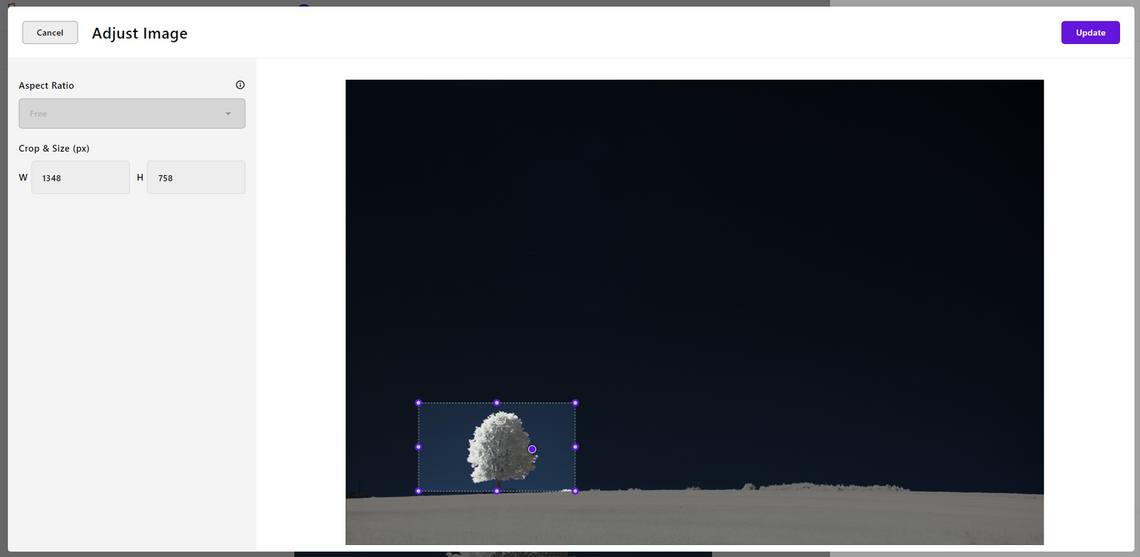
This will open the “Adjust Image” modal below:

Here, you can manually select the area of the image you are interested in and use one of the many predefined aspect ratio options available to crop the image. Note the purple dot in the middle of the image. That represents the focal point of the image. Do not worry, you will learn how to use it later on.
See the Apostrophe editing tools in action in the video below:
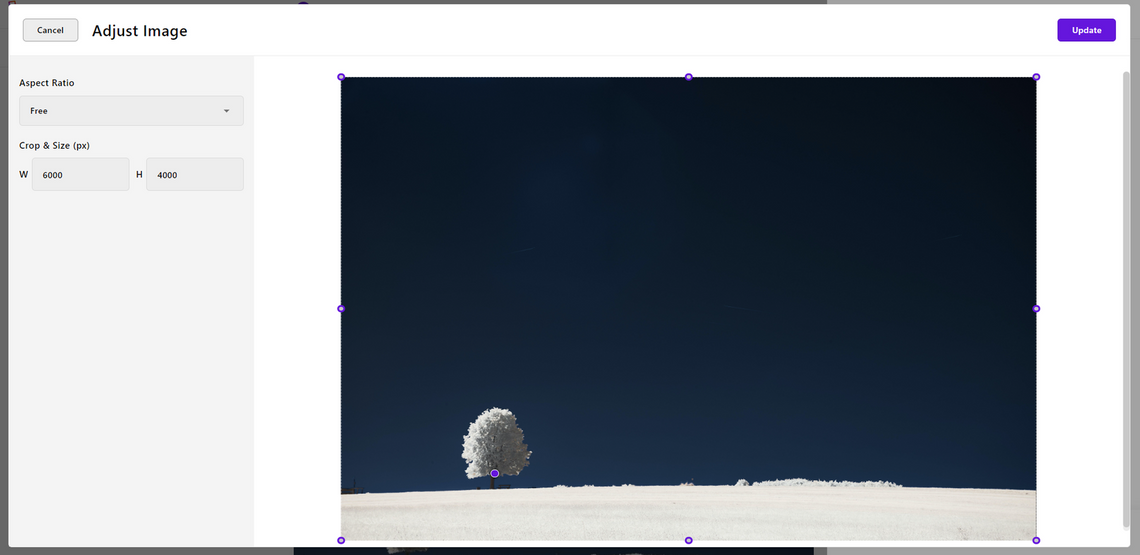
Adjust Image
After selecting the area of your image of interest, click on “Update” to crop it. Apostrophe will generate a new version of the image, including its sized versions.

Note that the public/uploads/attachments folder still contains the old versions of the image. This means that the editing operation did not affect the original image. Thus, you can use an image fragment as a teaser on one page and then the full-size image on another page. This is the flexibility of the Apostrophe image widget!
Focal Point Feature in Action
A fixed aspect ratio that applies to all devices may not be suitable for all design layouts. When you are building a responsive design with custom CSS that features different aspect ratios at various breakpoints for your images, you can take advantage of Apostrophe’s focal point feature.
When an editor sets the focal point, the image widget generates specific CSS rules to make sure the selected point always remains visible. This ensures that the image is displayed correctly on any device.
Suppose your page involves the following custom CSS rules:
img {
  max-height: 200px;
  object-fit: none;
}
This sets the maximum height of all images to 200 pixels. Additionally, it ensures that each image will not be resized or cropped to fit the container or device size.
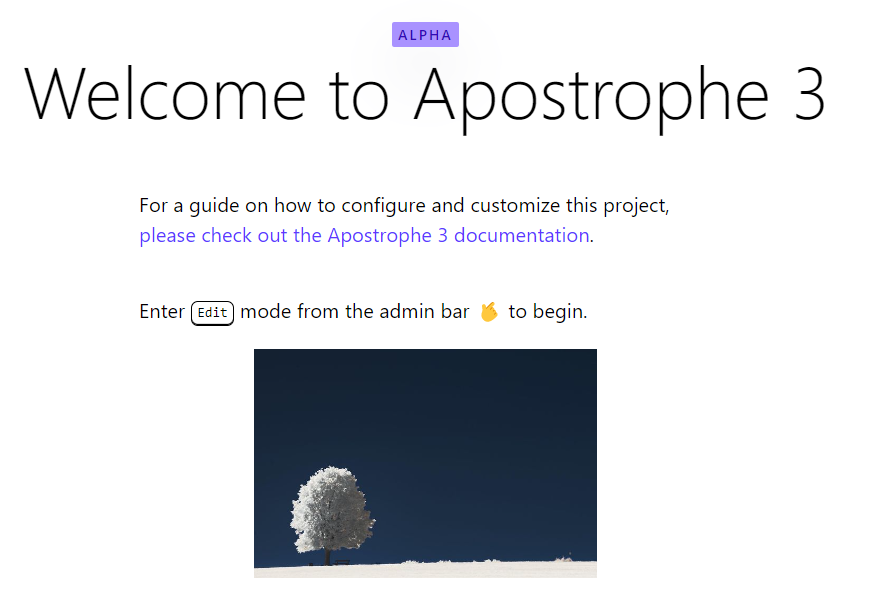
Set the focal point to the tree contained in the image:
The tree will always be displayed:
If you set the focal point to the ground on the right, the page will now show that portion of the image:
Fear responsive no more, the focal point feature is the perfect solution for editors!
Let’s now see how configuring @apostrophecms/image influences the editing tools.
Editing an Image on a Fixed Aspect Ratio
Suppose you want the images in a page to have a specific aspect ratio. This is common when a web page involves several images. For an optimal user experience, all images might need to have the same aspect ratio.
You can force a specific aspect ratio in Apostrophe as below:
// modules/@apostrophecms/home-page/index.js

module.exports = {
  // ...
  fields: {
    add: {
      main: {
        type: 'area',
        options: {
          widgets: {
            // ...
            '@apostrophecms/image': {
              aspectRatio: [ 16, 9 ],
            },
          }
        }
      }
    },
  }
};
In this snippet, all homepage images will have a 16:9 aspect ratio.
When setting a specific aspect ratio, editors will be able to choose images regardless of their shape. If you save the selected image without manually cropping it, Apostrophe will automatically crop it to fit the set aspect ratio. If, on the other hand, the editor decides to manually crop the image, the editing interface will allow them to select only one area in the configured aspect ratio.
As you can see in the image above, the “Aspect Radio” selector is disabled, and the cropping area is forced to be in 16:9.
Cropping an Image with Minimum Size Allowed
You may want all the images on one page to be larger than WxH pixels. Set the minimum size an image can have in Apostrophe as below:
// modules/@apostrophecms/home-page/index.js

module.exports = {
  // ...
  fields: {
    add: {
      main: {
        type: 'area',
        options: {
          widgets: {
            // ...
            '@apostrophecms/image': {
              aspectRatio: [ 1200, 900 ],
            },
          }
        }
      }
    },
  }
};
Now, widget editors do not allow selecting images smaller than 1200 pixels wide or 900 pixels high. Also, editors can no longer crop images smaller than that size:
Note that the cropping area cannot become smaller than 1200x900 pixels.
Et voilà! Now you know how to edit an image in Apostrophe and use special configurations to limit the cropping and resizing capabilities given to editors.
Benefits of Apostrophe’s Image Editing Tools
As seen above, the Apostrophe image widget comes with a set of editing tools that make the process of managing images on a website easy and efficient. Here are the main benefits that such a powerful widget brings:
- Easy to use: The editing tools offered by the image widget allow editors to adjust the size, aspect ratio, and focal point of an image through a simple and intuitive UI directly in Apostrophe.
- Responsive support: The widget automatically optimizes the images uploaded by producing several versions of different sizes and weights for displaying images on different devices. Also, editors can manually set a focal point to ensure a visually consistent experience on images.
- Flexibility: When cropping an image, Apostrophe produces new images without affecting the original. This enables editors to use the same image in different aspect ratios and sizes on the same site, without having to upload it multiple times in different formats.
In summary, Apostrophe's image editing capability streamlines the process of dealing with images on a website, making it easier for editors to create visually consistent content.
Conclusion
In this article, we learned how Apostrophe handles images, what the image widget is, and how to take advantage of its editing capabilities. In detail, the Apostrophe image widget has built-in editing tools that allow you to crop images and choose a focal point for images.
By following this tutorial, you have learned how to use the image widget as an editor, as well as how to set it up and configure it as a developer. This is all you need to edit images and create eye-catching visual experiences.
Thanks for reading! We would love to hear about your experience. Join our Discord to share with other Apostrophe developers from around the world!