
Effective content management relies on the ability to control who can access, edit, and publish content. This is why ApostropheCMS comes with a role-based permission system.
The problem is that as sites become more complex, giving users predefined roles is no longer enough. In large projects, the need for granular content permission control becomes critical.
Admins should have the ability to fine-tune content permissions based on various factors, such as user roles, content locale, and more. This level of control not only improves security and data integrity, but it also streamlines workflows to ensure that users have access only to the right content and operations. This is precisely the goal of Apostrophe Pro’s Advanced Permission module!
In this article, you will explore the features offered by the Advanced Permission module, understanding what it is, what it adds to ApostropheCMS, and how to use it.
Let’s dive in!
What Is Apostrophe's Advanced Permission Extension?
Advanced Permission is one of the useful extensions available with Apostrophe Pro. The module extends ApostropheCMS by introducing a dedicated system for granular control over content permissions. In detail, it gives admins the ability to create custom permission groups and assign them to users.
Think of a group as a set of rules that specify how users can interact with site content, based on its type. For example, the “blog editors” group may grant users only the permissions to edit and publish blog posts. The core permissions that can be selected for each content category are “Create,” “Edit,” “Delete,” and “Publish,” but custom permissions can be defined as well.
The Advanced Permission Pro extension also enables admins to grant users and groups per-document permissions on specific pages and pieces.
Why You Need the Advanced Permission Module
ApostropheCMS 3 introduced user permissions. Specifically, each user is assigned to one of the following four user roles:
- Guest: Can log into the website and view content with visibility set to "Login required." They cannot edit any content or view unpublished content.
- Contributor: Can create and edit draft content, including the global documents, but cannot publish those changes themselves. They cannot upload files (including images).
- Editor: Have all the permissions of contributors but can also publish content and upload files.
- Admin: Can create, edit, archive, and publish any content. It is the only role that can also create, update, or archive users.
Each of these roles grants a set of permissions that cover typical content editing, reviewing, and administration activities. While this simple user permission system may be enough for small projects, it still involves some key limitations:
- No granular permissions: Roles provide blanket permissions that cover all content, regardless of its specific type. This means that users with the same role have identical permissions on all pieces and pages.
- No per-document permissions: There is no possibility of giving selected users special permissions for a given document.
- Limited flexibility: There is no option to extend and personalize predefined roles with custom groups to fit different organizational structures and workflows.
The Advanced Permission Pro module addresses exactly all these shortcomings, providing features such as group creation and granular permissions management. This allows admins to fine-tune content permissions on a site to ensure a more personalized and secure content management experience.
Dig Into the Advanced Permission Module
Now that you know the reasons to use the Advanced Permission module, it is time to take a look at its features.
Before getting started, do not forget that the Advanced Permission extension is only available in Apostrophe Pro and Apostrophe Assembly. Compare our plans and find the right one for you on our pricing page.
Follow the documentation for technical instructions on how to install and set up the extension.
Add a Group
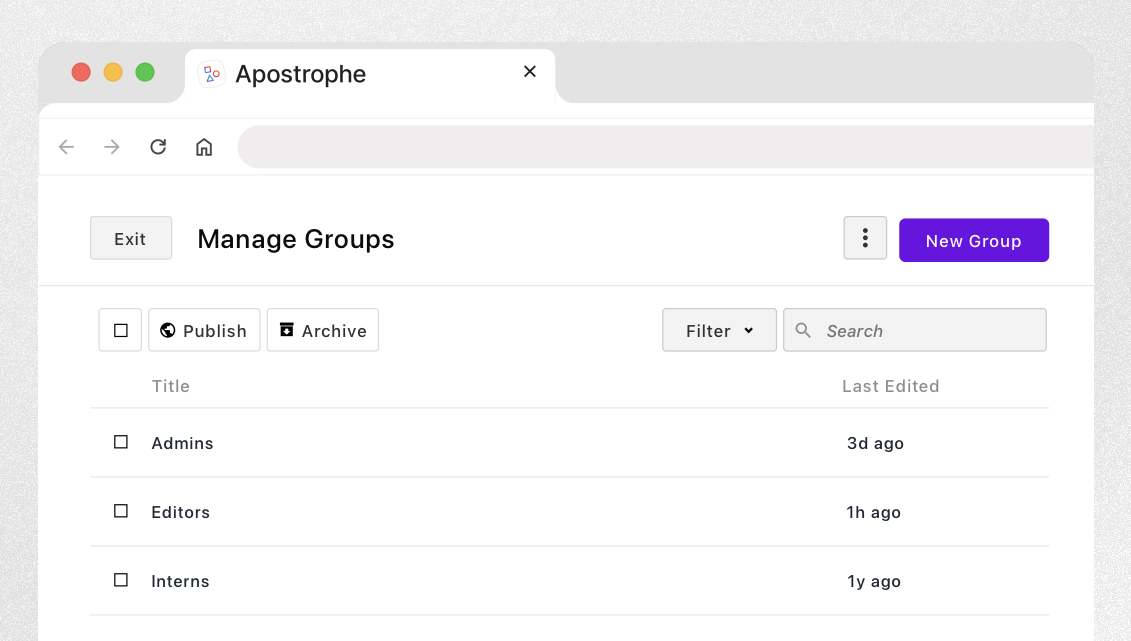
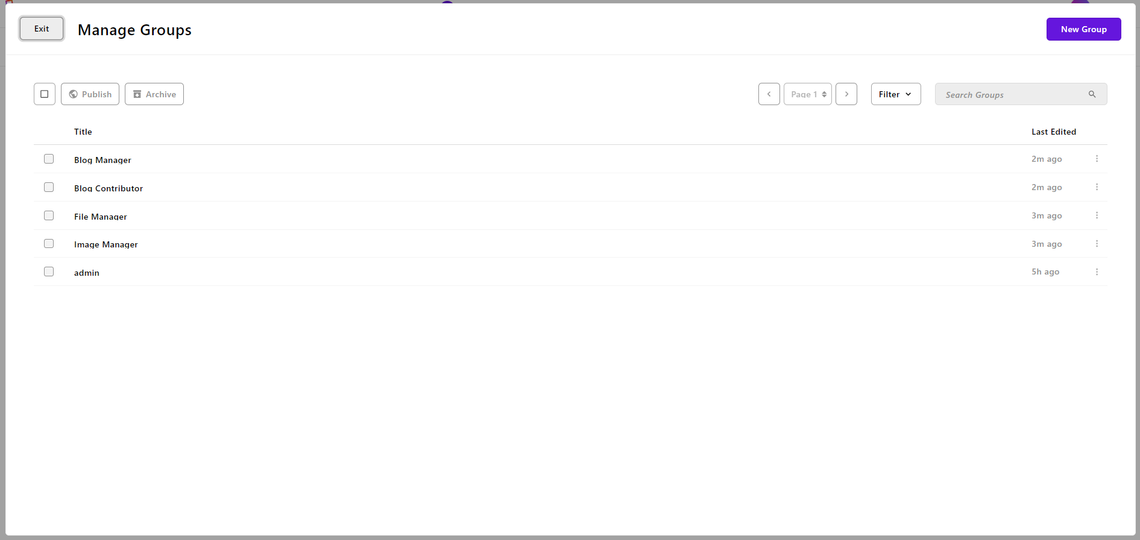
Click on the “Groups” item in the top left corner menu to reach the “Manage Groups” modal:
The list in this section will show the groups ApostropheCMS created by default during the setup of the Advanced Permission module. Time to see how to add a new user group!
Press the “New Group” button. This will open the group creation modal below:
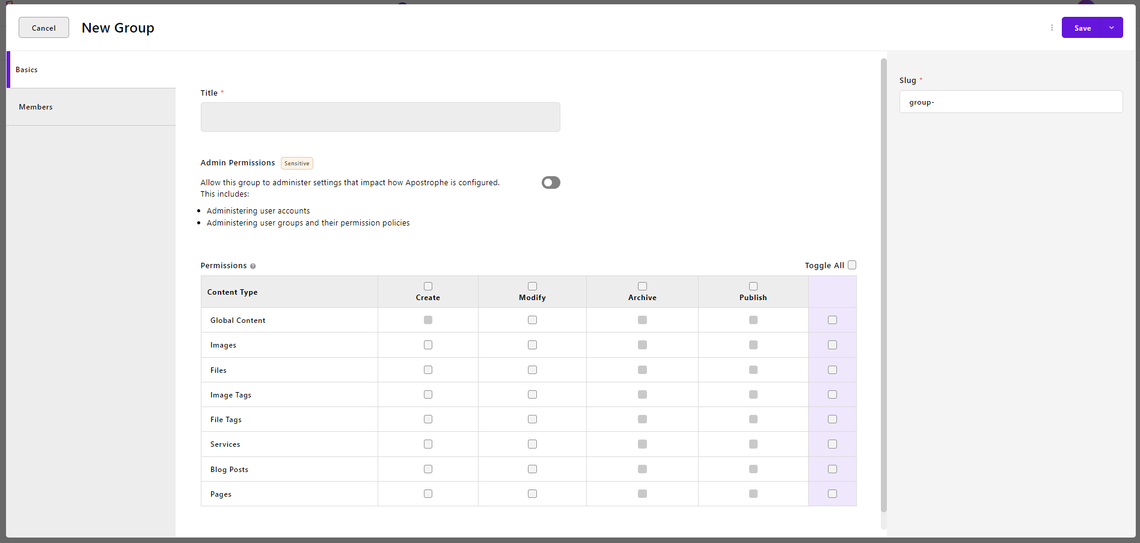
Here, you can give your group a name, a slug, and a set of permissions.
Let’s break down what the “Basics” tab of the “New Group” modal consists of, section by section.
The “Admin Permissions” section contains a toggle to specify whether the group should have all admin permissions.
When toggled on, it gives the new group permissions to create, modify, delete, and publish all content on the site, including creating additional users and groups. Plus, all checkboxes become unmodifiable. This makes clear that the admin option should be used only for groups who should have total control.
When “Admin Permissions” is not selected, the “Permissions” grid is where you can assign nuanced permissions to your group:
The “Content Type” column on the left is automatically populated with all the categories of content on your site you can apply permissions on. The rows in this grid are project-specific and include pages, images, files, tags, and custom piece types (“Services” and “Blog Posts,” in this case). You can assign permissions to each category of content by toggling the checkboxes in the columns to the right. The external checkboxes allow you to toggle all permissions in the grid or in an entire column or row.
Keep in mind that giving a “Create” permission to a given content category will also enable a member of the group to edit, submit a draft, and delete any drafts of their own content. However, to modify any other user's content—even if the authors are part of the same group—users will need the “Modify” permission.
NOTE: The permissions required to administer users and groups cannot be given by checking the checkboxes in the “Permissions” grid. You can assign those permissions only through the “Admin Permissions” toggle.
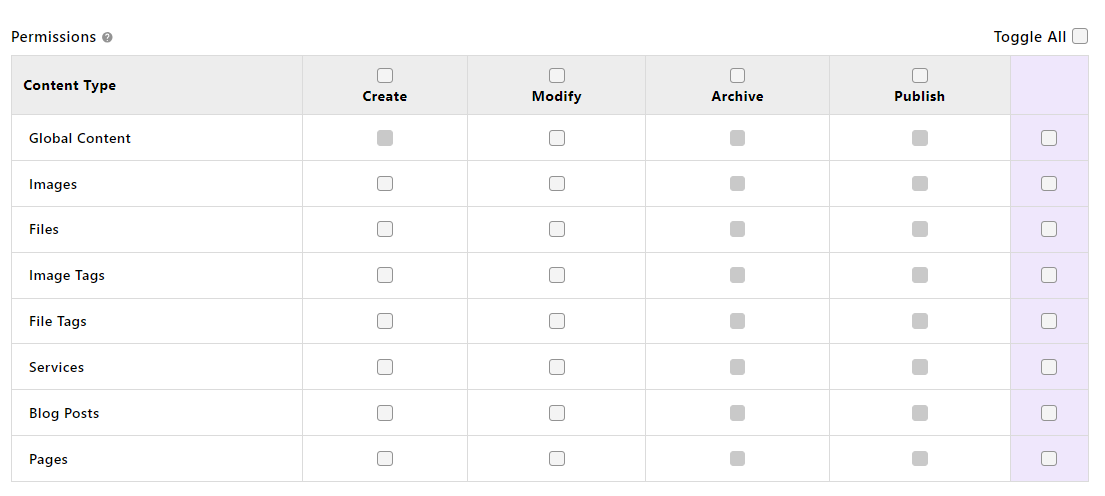
Now, take a look at the “Permissions” grid below:

This highlights how the checkboxes can be in one of the following four states:
- Open: The permission is not given (e.g., “Create” for “Images”).
- Checked with a dark purple background: The permission has been explicitly given (e.g., “Modify” for “Images”).
- Light purple background: The permission is implicitly given by default (e.g., “Publish” for “Images”). For example, checking the “Modify” permission automatically enables also the “Publish” permission.
- Solid gray: The permission cannot be given (e.g., “Create” for “Global Content”). That usually happens when the permission depends on another permission in the grid.
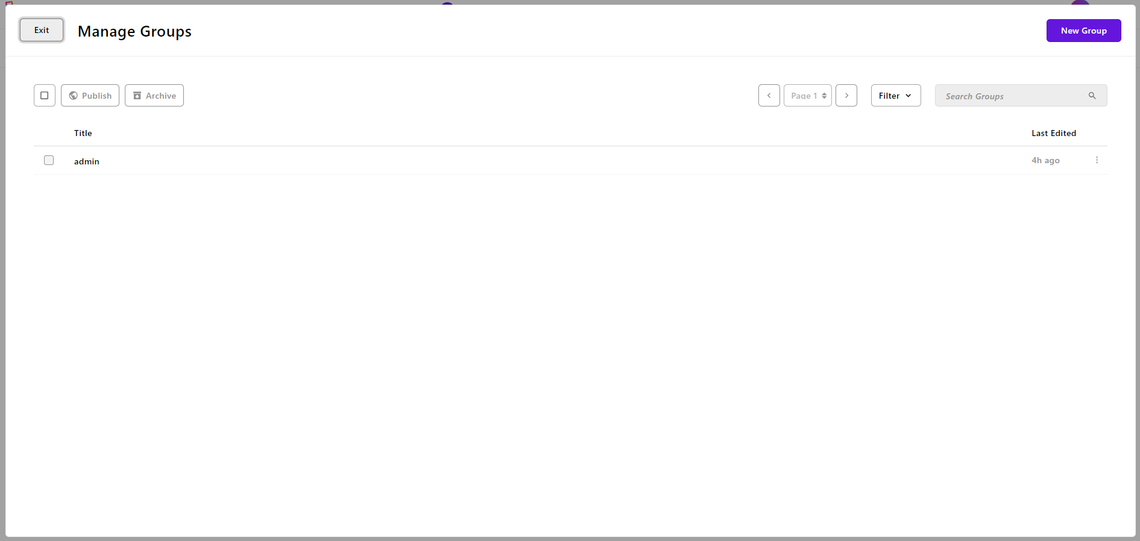
Once you are done, click the “Save” button to create a new group. Groups created through this procedure will appear in the “Manage Groups” list was saw at the beginning:
Admins can assign these groups to users. Find out more in the next section!
Assign a Group to a User
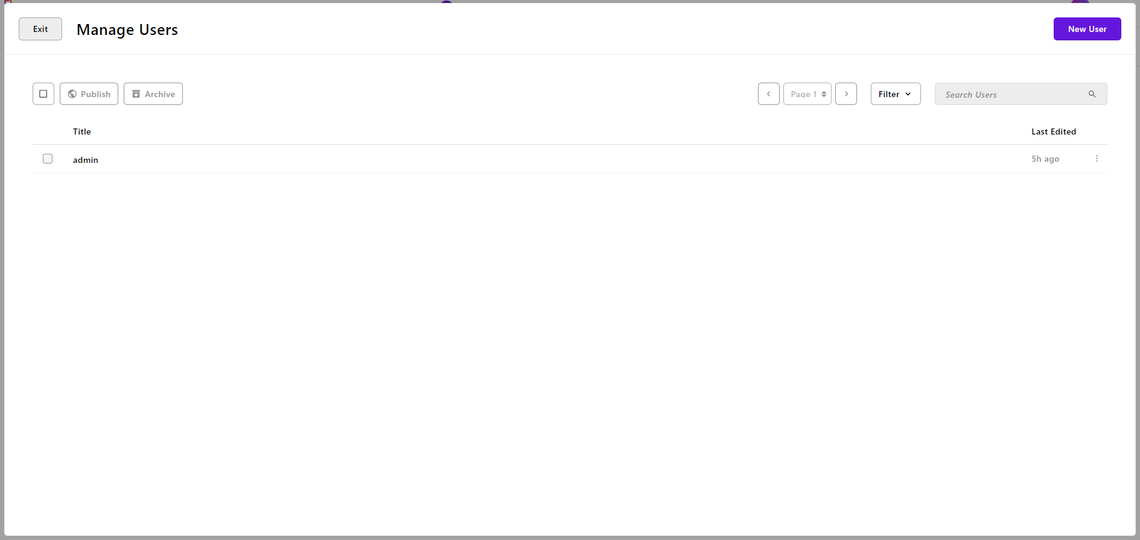
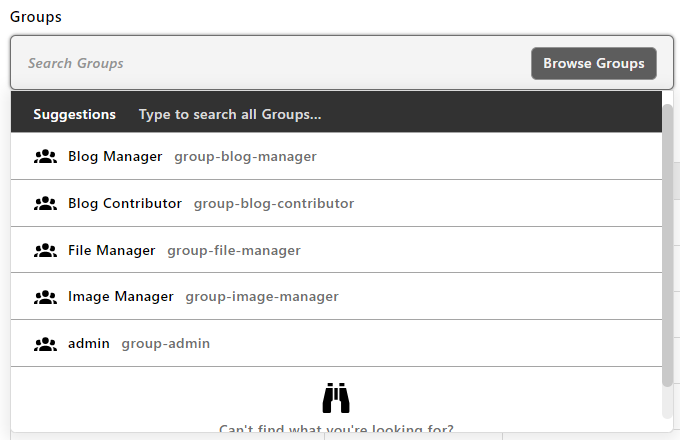
The Advanced Permission extension gives admins the ability to assign permission groups to users. To do so, open the “Manage Users” modal by clicking the “Users” item in the top left corner menu:
Click on the “New User” button to define a new user or select the “Edit” option on an existing user. In the user creation/update modal, click on the “Permissions” tab to reach this view:
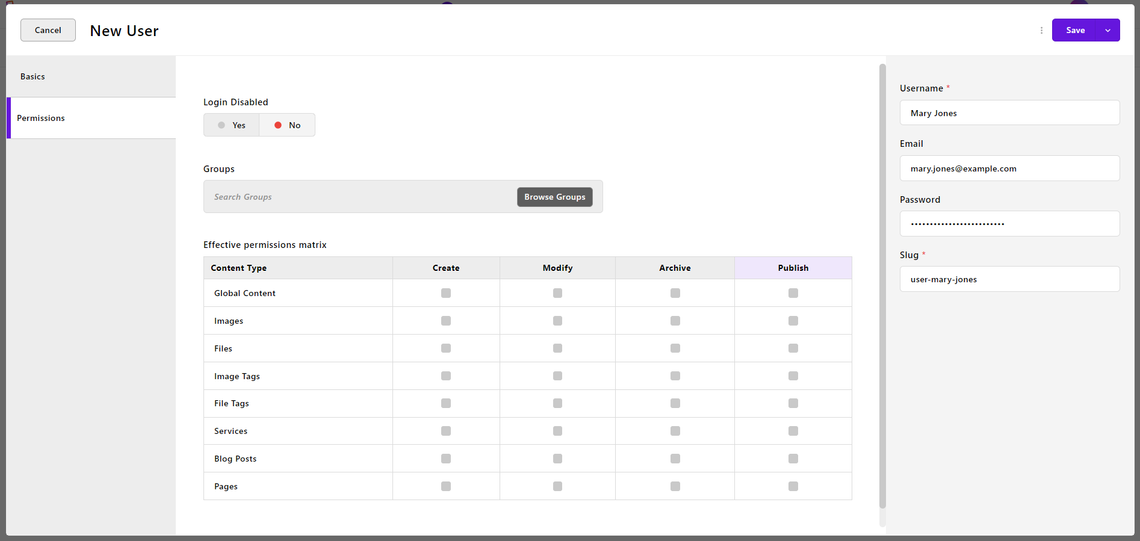
The “Login Disabled” toggle allows you to disable access to the site for the user. By default, it is set to “No,” which means that the user can log in to your site.
The “Group” multiselect allows the user to browse through the available groups and assign them to the user:
Each user can be a member of zero or more groups. In the case of multiple groups, the permissions of each group will be merged together. Thus, the resulting set of permissions is the union of all permissions in each group. Monitor the “Effective Permissions Matrix” grid to see at a glance the permissions currently assigned to users.
NOTE: Only users who are completely trusted should ever be added to a group for which the “Admin Permissions” option has been enabled.
Suppose you want to add to the user “Mary Jones” the ability to manage both images and files, assigning her the roles “Image Manager” and “File Manager.” Here is how you can do it:
Notice how the “Effective Permissions Matrix” grid automatically updates with the merging of permissions in the two groups.
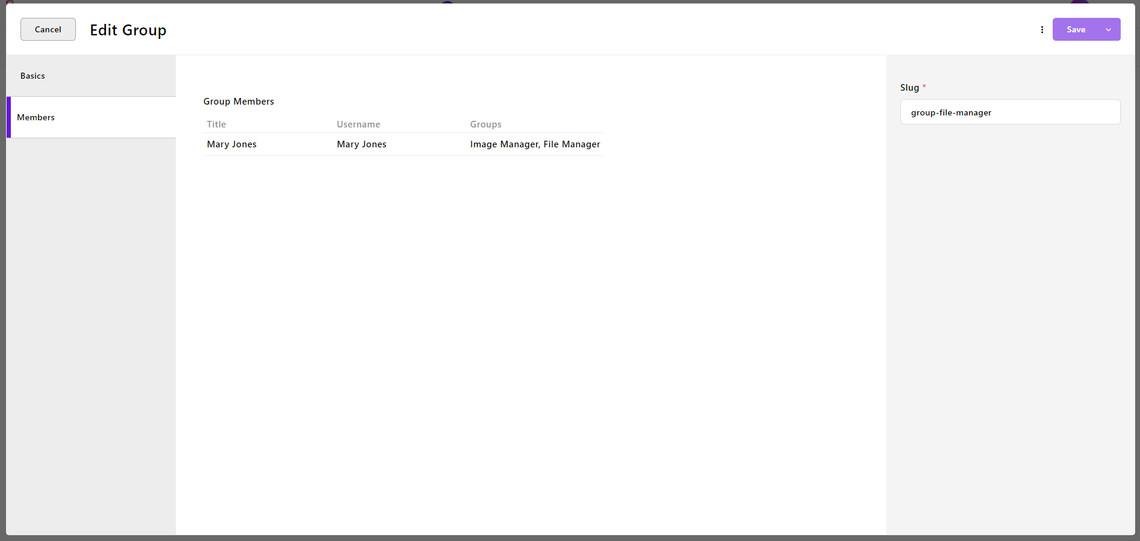
After selecting the groups, click “Save” to assign them to the user. If you now visit the “Members” tab of an assigned group, you will see the names of the users who belong to that group as in the example below:
Define Per-Document Permissions
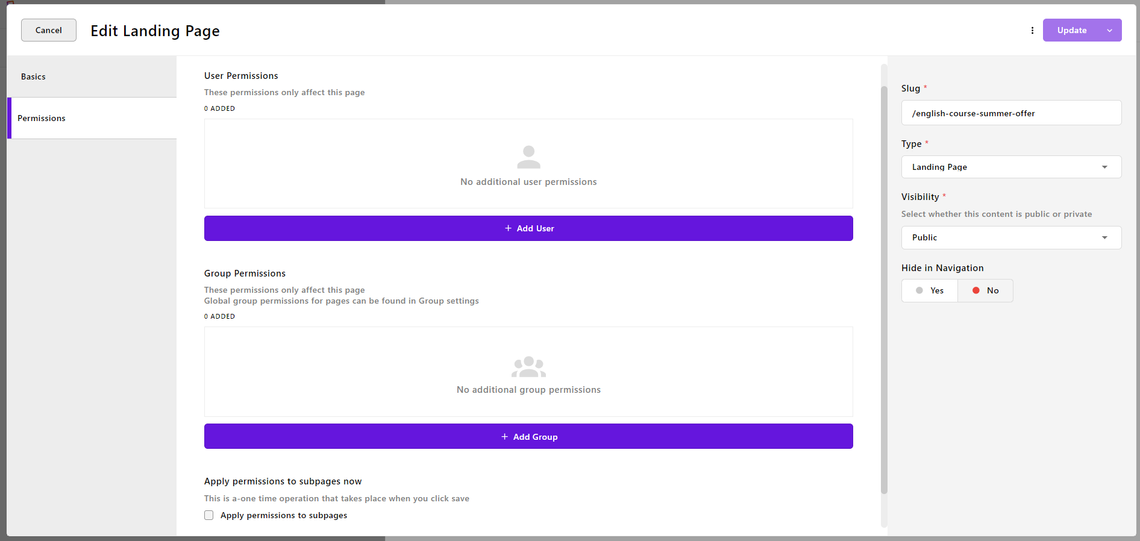
The Advanced Permission module also provides admins with the ability to set permissions for specific pages/pieces. This is possible from the “Permissions” tab in the editing modal of a page/piece document:
Bear in mind that changing permissions here will NOT give the selected user(s) permissions over all pages/pieces of that type. Instead, it will only give them permissions for this specific page/piece document.
The per-document “Permissions” tab involves two main sections:
- User Permissions: To assign selected users specific permissions over the specific page/piece.
- Group Permissions: To assign selected groups specific permissions over the selected page/piece.
The “User Permissions” multiselect allows the selection of individual users:
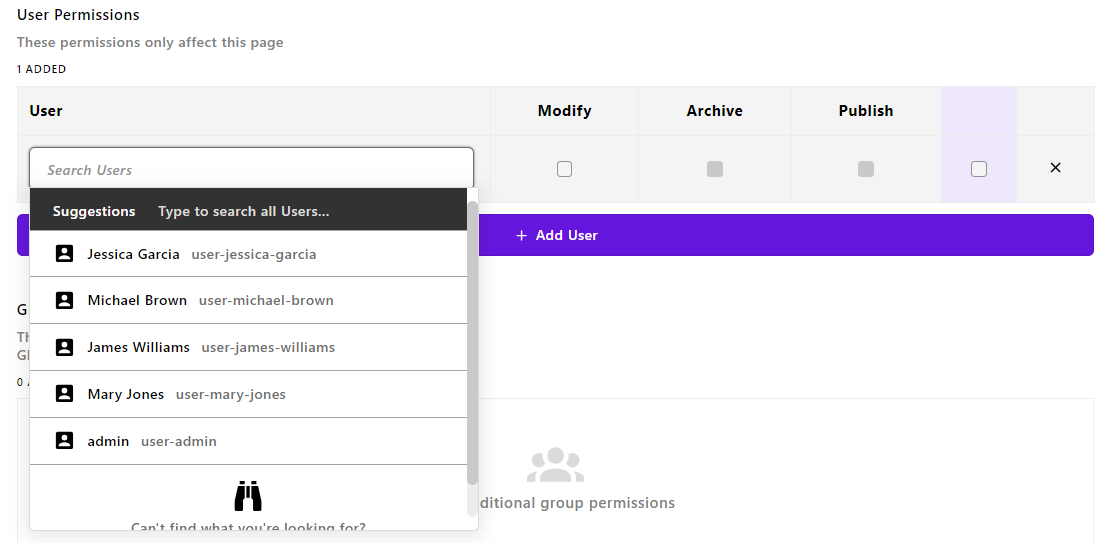
Similarly, the “Group Permissions” multiselect enables the selection of individual groups:

After selecting a user or a group, a new matrix with the “Modify,” “Archive,” and “Publish” checkboxes will show up. This is how you can assign specific permissions for a given user/group:

- Per-document permissions panels do not overrule permissions given to users and groups. For example, assume that a user has “Publish” permission for all pages. Setting their permission only to “Create” and “Modify” on a specific page/page will not remove their ability to publish that page/piece. Note that this behavior will not be reflected in the matrix within the per-document permission panel.
To remove per-document permissions from a user, click the “x“ icon to the right in the user's row:
In the “Permissions” tab of a page document, you will also see the following checkbox:

When checking this field before saving, all per-document permissions will be copied to the subpages. After that, you can edit the permissions individually on the subpages.
Permission Management on a Multi-Locale Project
If your Apostrophe project supports several locales, the Advanced Permission module will show specific options to set per-locale permissions. The “Basics” tab of the group creation/update modal and the “Permissions” tab for users will have the following “Locale Permissions” section:
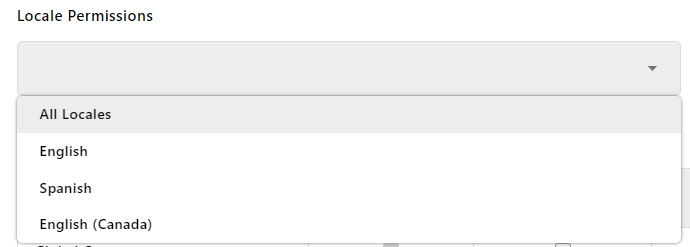
This dropdown is populated with all the locales configured for the site. In detail, the “Locale Permissions” multiselect:
- Allows you to restrict the checked permissions for the group to one or more locales.
- Enables the selection of additional locales not already included in the groups assigned to the user. These per-locale permissions are cumulative. For instance, if one group permits modifying the “Article” piece type in the English locale, and another grants rights to edit “Product” in the Spanish locale, adding those two groups will allow the user to edit both those document types in both locales. To avoid this overlap, you can create groups for locale permissions and groups for content permissions and then assign users to two or more of these groups (e.g., place a user in the French group and the "Products" group).
Also, remember that:
- If a user has permission to perform at least one action—even if only on a per-document basis—for a certain type of document in one locale, they will be able to see (but not edit) the documents of that type in other locales. Specifically, they will have the ability to localize those documents to the locale where they do have permissions.
- Any per-document permissions apply to all locales of the given page/piece.
- Admin permissions overrides per-locale permissions. In other words, the admin group will be able to work with documents in any locale.
Conclusion
In this guide, you dug into the Advanced Permission extension. You understood what this Pro module is and what it brings to the table. In particular, you saw that it helps you create and manage granular content permissions on your site.
By following this article, you learned how to use the form for defining groups, assigning them to users, and managing per-document permissions. The default role-based permission system offered by ApostropheCMS may be too limited for you. Thankfully, Apostrophe Pro's Advanced Permission extension is here to the rescue!